Migrating SBS Remote Web Access to Essentials Anywhere Access
In Windows Small Business Server environments, one of the more popular features to implement was the Remote Web Workplace (or Remote Web Access in 2011). The idea was to grant secure, web-based remote access to corporate resources (such as Remote Desktop or web-enabled access to Server Folders).
In Windows Server 2012 Essentials and forward, the RWW/RWA capabilities still exist, but the feature was renamed to Anywhere Access, which allows you to enable VPN and RWA in a single wizard.
To migrate these functions over to a new Essentials or Essentials Experience server, follow along with these steps:
- Export the remote access certificate from the source server
- Configure Anywhere Access on the destination server & import the certificate
- Update firewall rules and/or DNS to point traffic to the new server
- Other settings / adjustments
To configure this feature from scratch, you can also just follow the steps in the Anywhere Access Wizard, by navigating to the Essentials Dashboard, and choosing Home > Setup > Setup Anywhere Access. The wizard will walk you through the process of requesting a certificate.
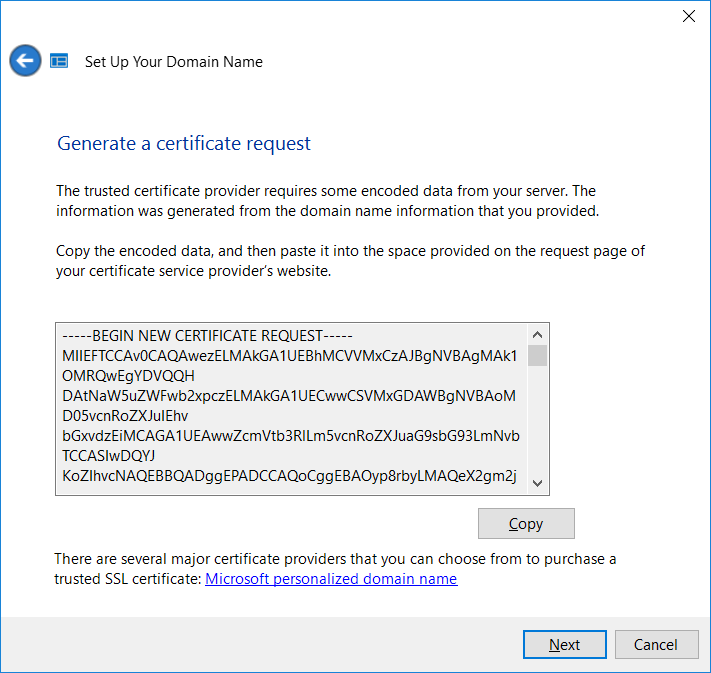
You will then submit this certificate request at your provider (e.g. GoDaddy or similar), and it is possible to complete the request in the same wizard on your server. Otherwise, to import an existing certificate from a source server, follow the instructions below.
Step 1. Export the remote access certificate from the source server
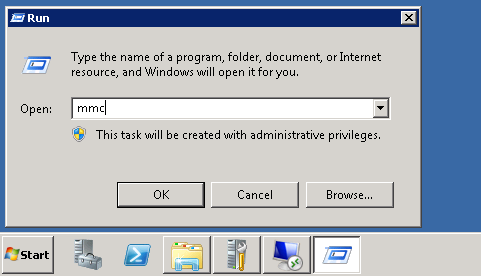
On the source server, go to Start > Run, type mmc and hit enter.
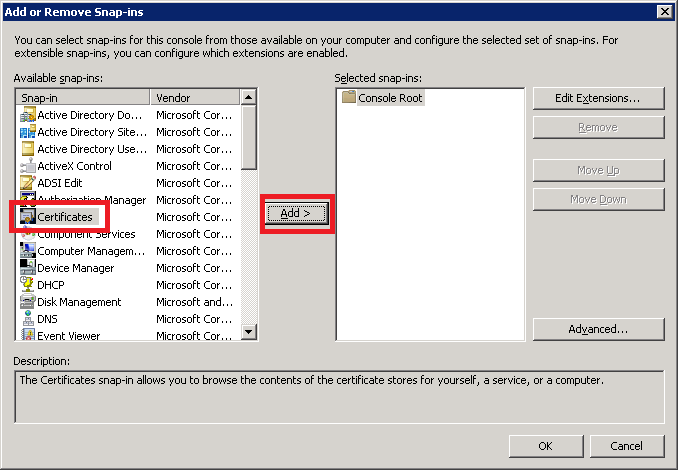
From the MMC console, choose File > Add/Remove Snap-in. In the dialogue window, find Certificates and click Add.
Next, you will choose Computer account, then Local Computer. Click OK. Navigate to Certificates (Local Computer) > Personal > Certificates. Locate the certificate used for your Remote Web Access features (often “remote.domain.com”). Right-click on the certificate, choose All Tasks > Export.
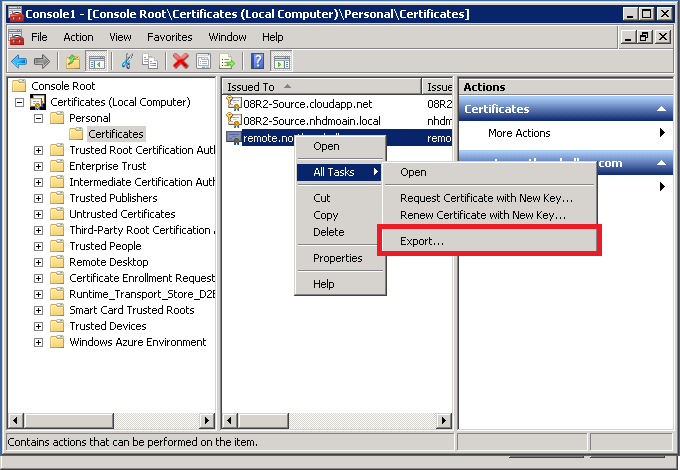
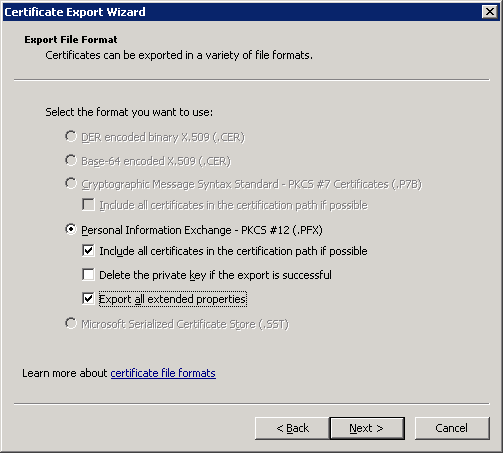
Make sure you export the private key, and select the (.PFX) option, without deleting the private key.
Set a password on the export file, and save it to a location accessible on the network, or copy the file to the destination server.
Step 2. Configure Anywhere Access & import the certificate

From the Windows Server Essentials Dashboard, navigate to Home > Get Started > Setup > Set up Anywhere Access. Select Click to configure Anywhere Access to open the wizard. At first, you will need to acknowledge: I have manually configured my domain name. Then you will specify the DNS name that you use to access the server remotely on the web. Usually this is remote.domain.com or something similar–but you should use whatever is associated with your SSL certificate.
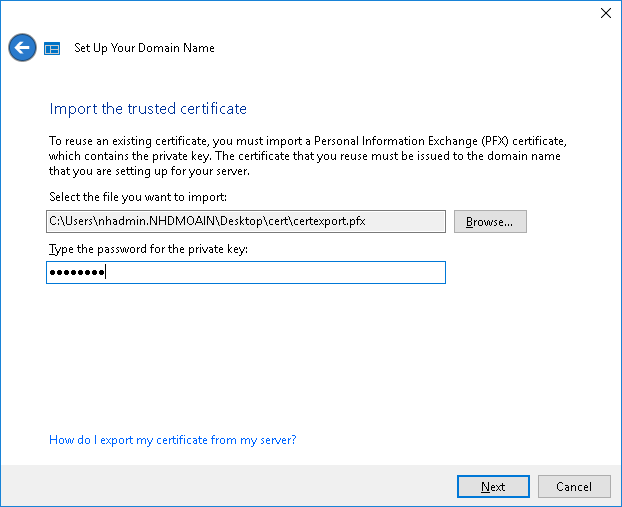
Finally, choose I want to use an existing SSL certificate. Select the location and input the export password from earlier.
After that, you can select whether to enable VPN, Remote Web Access, or both to complete the wizard. You may get a warning if you have not yet opened firewall access for your server to be accessible on ports 80 & 443.
Step 3. Update firewall rules and/or DNS to point traffic to the new server
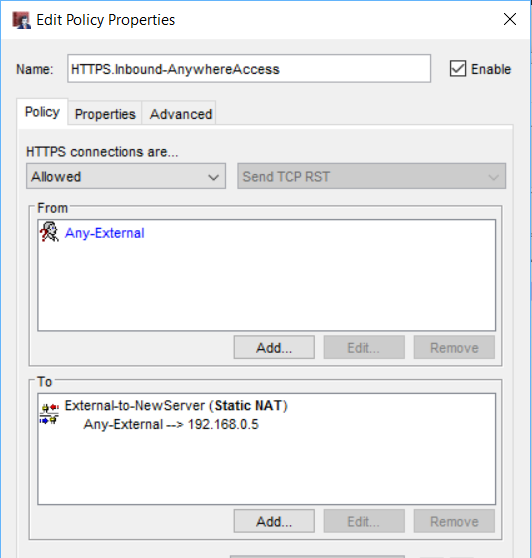
Every firewall vendor is a little bit different, but in general you will want to open access from external interfaces on port 443 to the internal server’s IP address. I only recommend opening 443–enabling 80 (HTTP) or other legacy VPN ports such as 1723 (PPTP) is optional (and not recommended).
I have pictured an HTTPS policy configuration from a WatchGuard firewall, below. If you are also changing IP addresses at this time, you will need to update your DNS host (A) record for remote.domain.com to point to the new IP address.
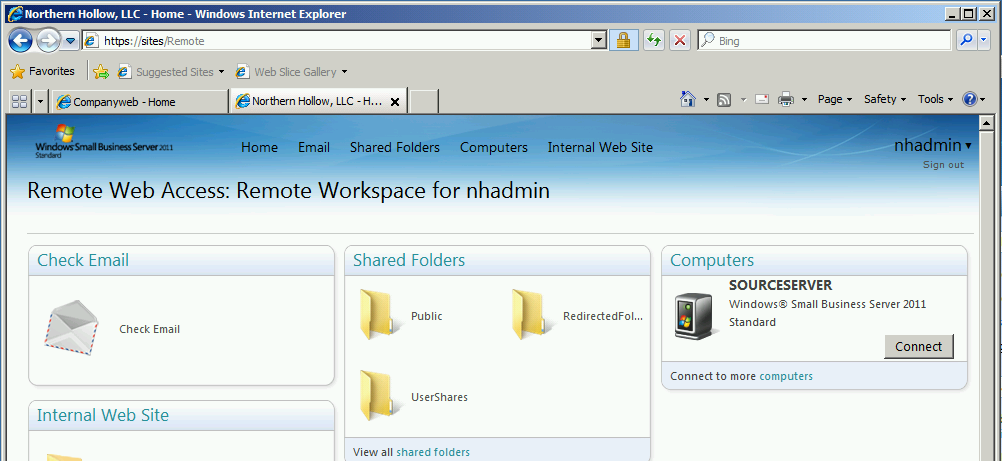
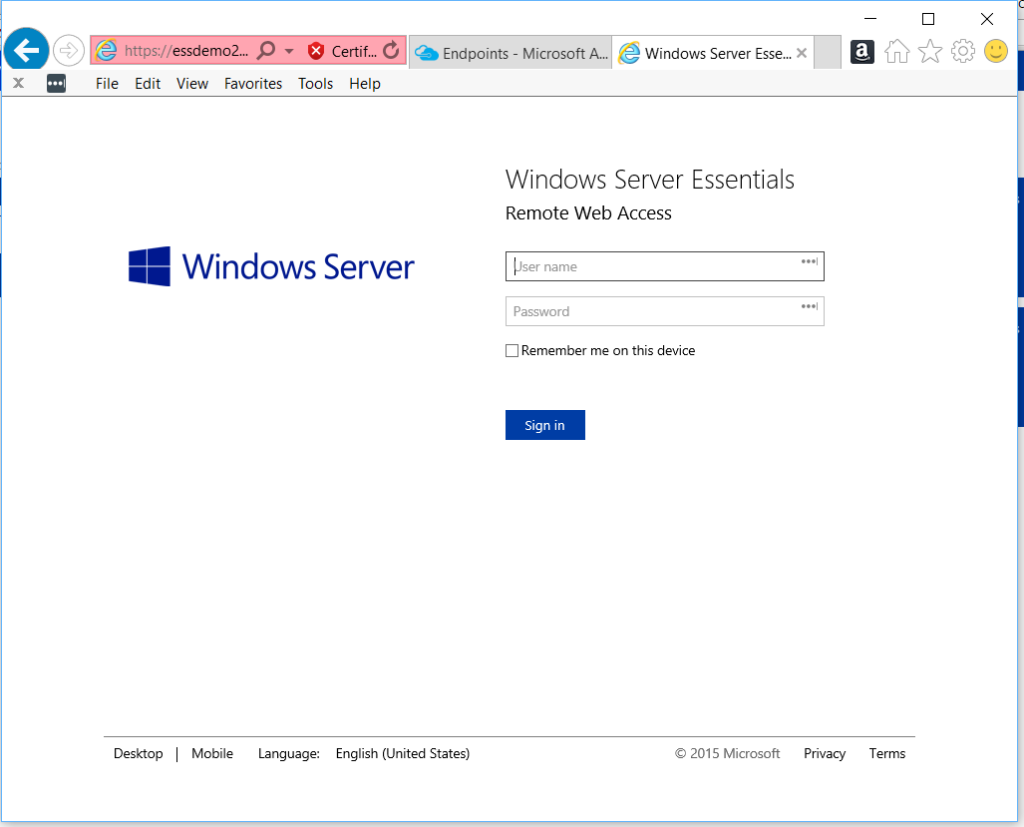
Once you are done, don’t forget to test access from outside the network! The web page should be available at https://remote.domain.com/remote (or whatever name you decided to use) and it will look similar to this:
Step 4. Other settings / adjustments
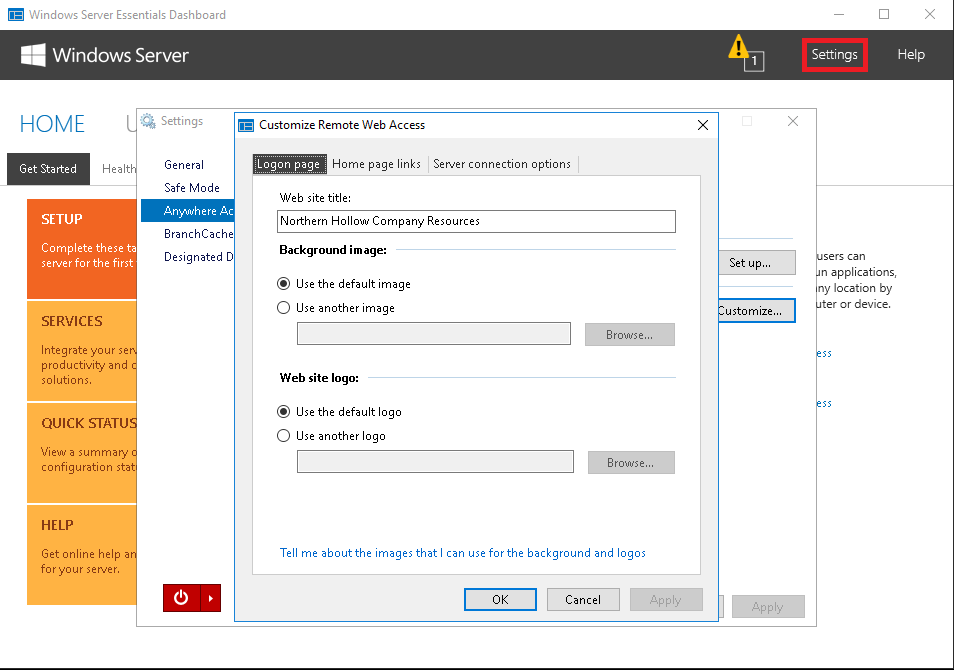
If at any time you need to make adjustments to the default configuration, you can find more settings from the Essentials Dashboard by clicking on Settings > Anywhere Access. For example, you can change the default title, image & logo for the Remote Web Access page.
One more note: local users’ computers will not be accessible from the Remote Web Access page until you have joined each PC to the new Essentials Server by navigating in a browser to http://servername/connect and completing the connection wizard.
It is not necessary to disable or remove these features from the source server, unless you really want to.
Comments (5)
Will installing Essentials Services on Server 2016 automatically take over RID/Operations Master to the server and then brake the SBS 2011 that need thes roles ?
Actually I found out now that i does not. Sorry for bothering. Then I guess i can install Essentials Services before I decommission the SBS server. I want to enable the anywhere access.
That’s right! You can introduce this without transferring FSMO. Eventually, you can transfer and decom the old box, but you can take time to co-exist also. I agree, the Anywhere Access is one of the best features. I think the web UI looks much better than the Windows Server Remote Desktop Services / “RDWeb” interface.
Am following your excellent guides to get a feel for Essentials 2016. Anywhere access is much more convoluted than the wizards in SBS 2008, and 2011! I’m failing at the cert import stage. I’ve exported the cert, as per your advice, from SBS2008, but the essentials import advises “you can only import trusted SSL certificates…..”. What am I missing?
Must be a self-signed cert, or cert from non-authority? Get a new (real) cert from GoDaddy or Network Solutions, and try again!