How to Enable Information Rights Management for SharePoint Online & OneDrive for Business
This is a four-part post on Azure Rights Management for Office 365. The Azure RMS service is a powerful tool that we can use to prevent data leakage and share information securely with users inside & outside of the organization.
Follow along as we explore how to:
- Activate Azure Rights Management for Office 365
- Configure Email encryption for Office 365
- Compare Email encryption & Rights Management templates
- Enable Rights Management for SharePoint Online & OneDrive for Business (this post)
Before proceeding to enable Rights Management for SharePoint Online & OneDrive for Business services, you must be sure to activate Azure Rights Management for your Office 365 tenancy.
Rights Management for SharePoint Online allows you to assign really interesting permissions to document libraries and lists, such as restricting the ability to print or to download, export or run scripts against content. You can also let the content expire, and force users to authenticate in order to view the content (or else it will remain locked and unable to be read/opened).
How-to Enable Rights Management for SharePoint Online
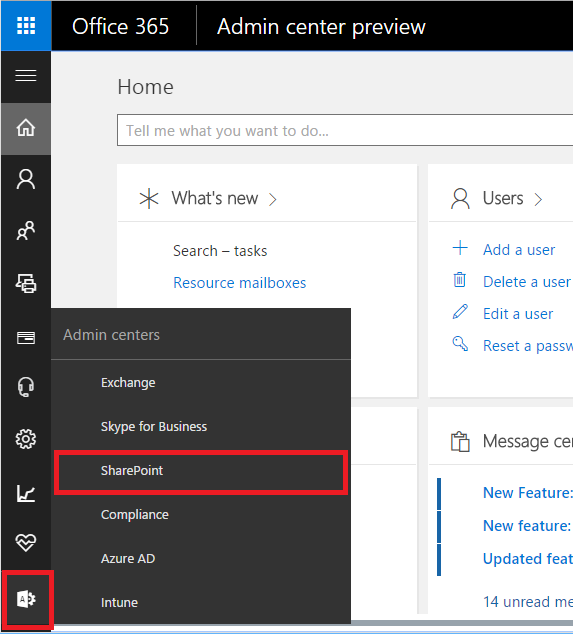
Begin by signing into the Office 365 portal, and navigate immediately to Admin centers > SharePoint.
From the SharePoint Admin center, click Settings on the left. Scroll down to find the Information Rights Management (IRM) section, choose Use the IRM service specified in your configuration, and then choose Refresh IRM Settings.

Now users will be able to apply IRM restrictions to their libraries and files.
How-to apply Rights Management to Libraries
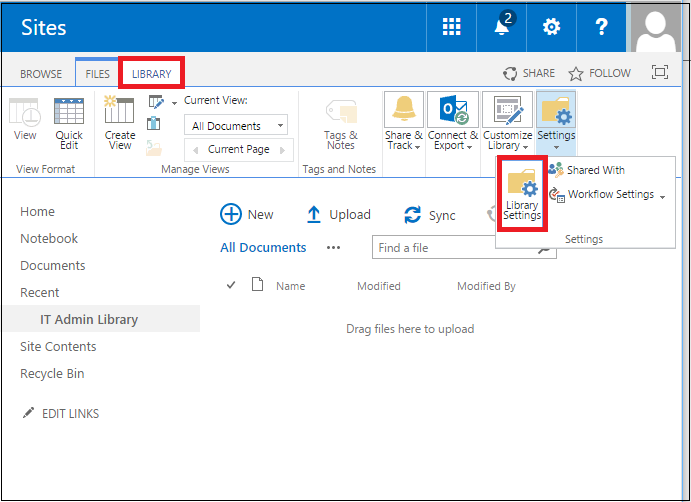
The following basically follows along with this support article from Microsoft–refer to it for more details. As a site administrator, navigate to the SharePoint library for which you would like to enable IRM. On the ribbon, click the Library tab, and then click Library Settings.
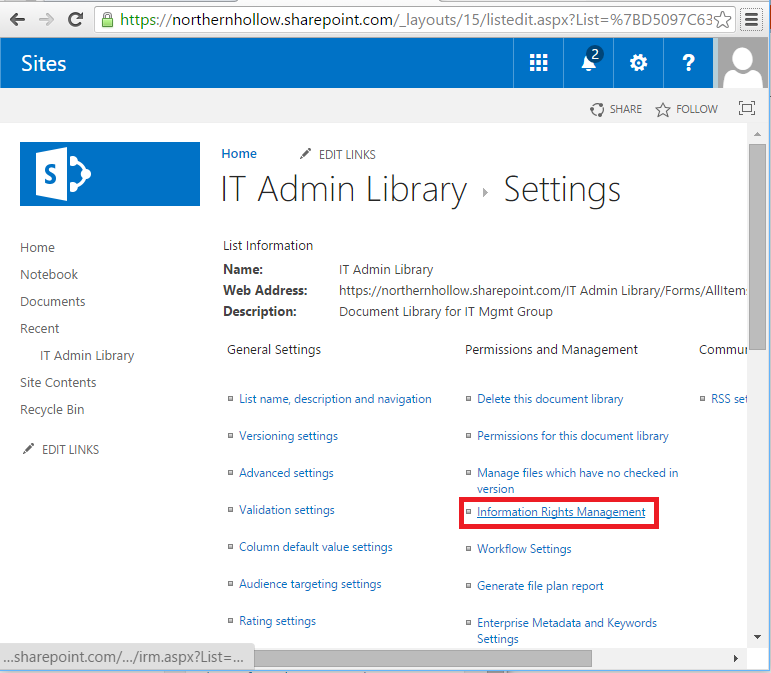
Under Permissions and Management, click Information Rights Management.
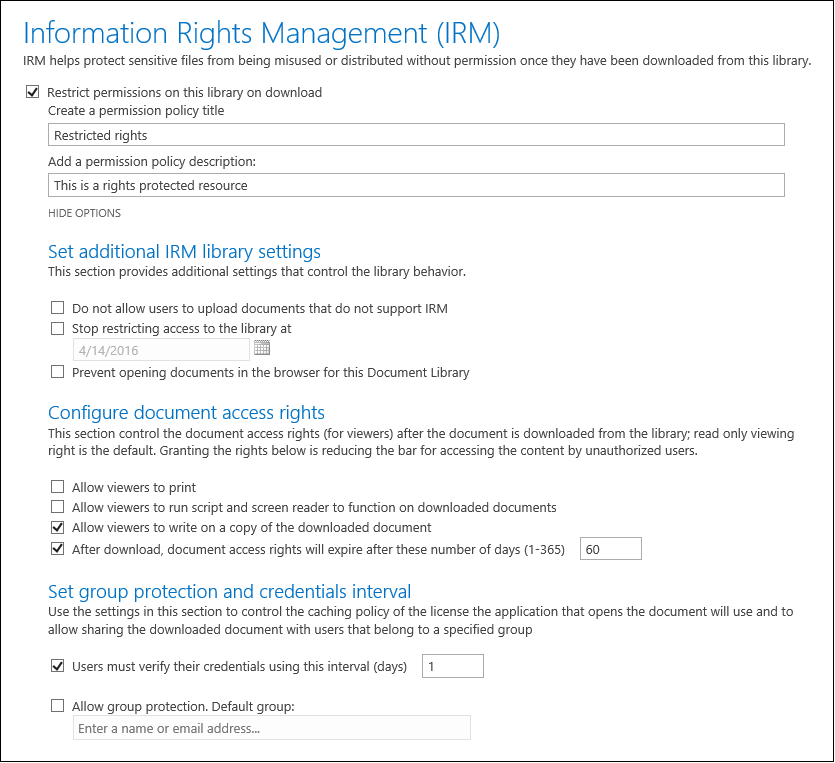
From here you can restrict permissions, give your policy a name & description, and choose how you’d like to restrict it with SHOW OPTIONS.
Now documents added to this library will be protected according to the rules you set up for the library.
How-to apply Rights Management to OneDrive for Business
You can find these instructions on this TechNet article from Microsoft. You can provide these instructions to your users, and they can enable protections for their own documents!
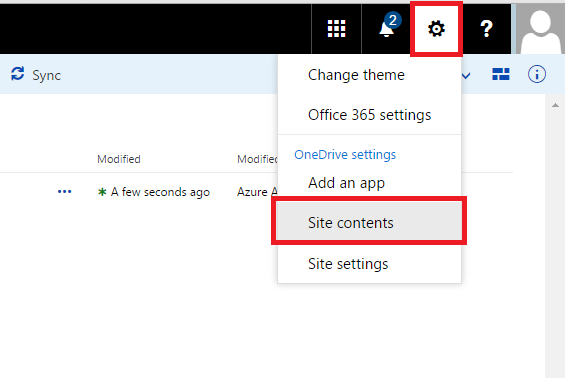
From OneDrive, click the Settings icon, and then click Site Contents.
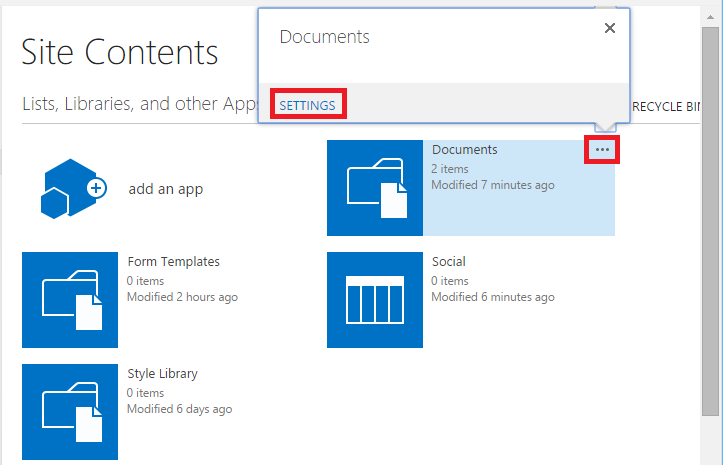
Hover on the Documents tile, chose the ellipses (…), and then click SETTINGS.
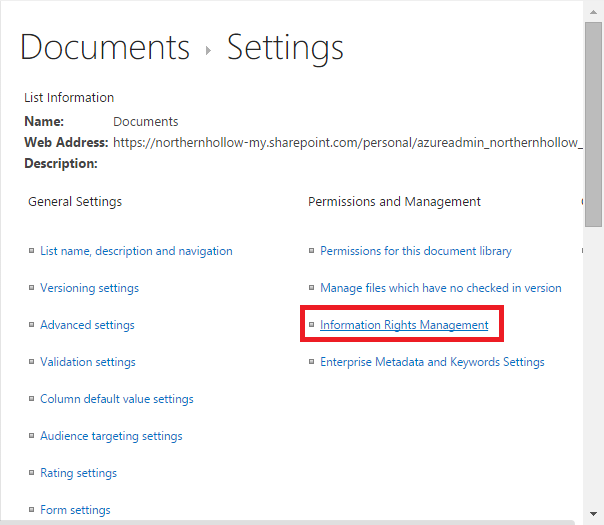
On the Settings page, in the Permissions and Management section, click Information Rights Management.
This page should look familiar if you’ve already configured a SharePoint library (above). On the Information Rights Management Settings page, select Restrict permissions on this library on download check box, specify your choice of name and a description for the permissions, and optionally, click SHOW OPTIONS to see additional choices, and then click OK.

Testing the results
Let’s see how this behaves. In this example, I set my restrictions to prevent other users from printing the documents they download. Additionally, I’d like the content to expire after 60 days, and the user should have to re-authenticate every 5 days.
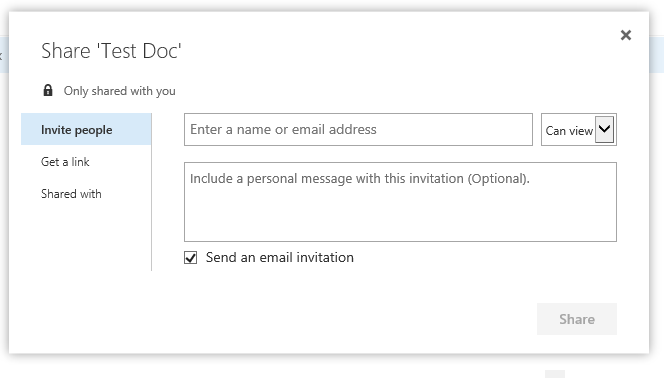
Now let’s try inviting someone to the document. Select a document in OneDrive and click Share.
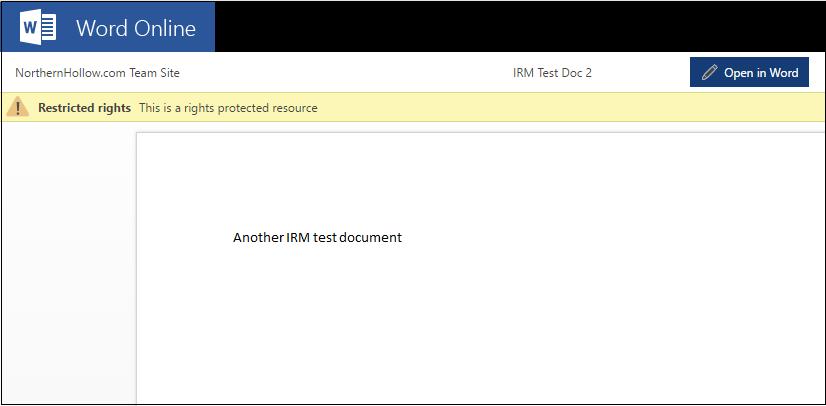
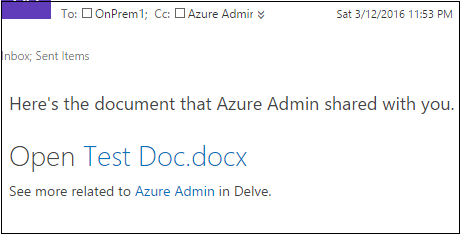
Now we can sign into OWA as the user to whom we sent the share invite. Follow the link to open the document in Word online.
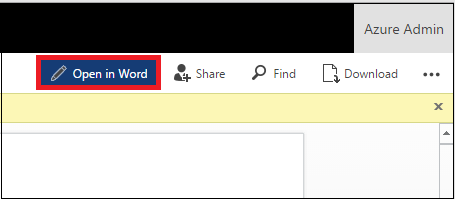
We can also work with the document by choosing Open in Word.
And from here, you will see the warning ribbons that explain we have some restrictions on the document. See below:
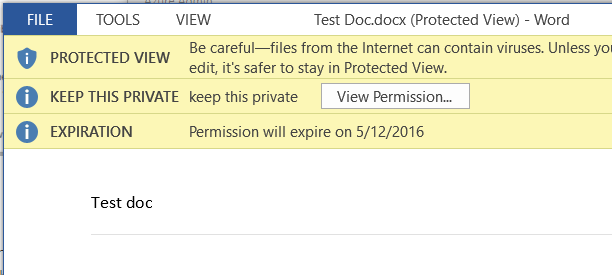
Click View Permission… to see more details. Notice how we are not allowed to print, and the access will expire in 60 days.
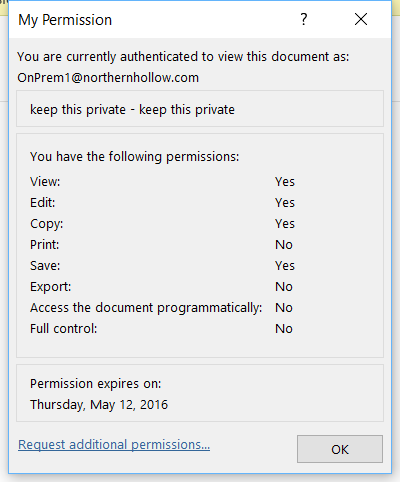
If this user tries to send the document to another person not authorized to view it, e.g. to someone outside of the organization, it is not even readable. If we download the document and try to open it on another computer, we find that we cannot, without signing in with appropriate credentials, or by requesting access from the owner.
Aren’t there always some gotcha’s?
Yes, it wouldn’t be technology without some gotcha’s. The first major caveat is simple, and you may have already noticed: in OneDrive for Business you can only enable IRM for the entire OneDrive; it is not possible to turn this lever up or down on individual documents and folders. Bummer.
The second major caveat you have to be aware of is that sharing IRM-protected documents with external users is a bit of a pain in the you-know-what. For starters, external users cannot download and open rights protected documents. In order to do that, they will need an identity in your Office 365 organization.
Indeed, it appears that this limitation has been confirmed by others, and Microsoft support explicitly states that IRM-protected documents sent to external users cannot be downloaded. External users must authenticate using at least a Microsoft Live ID just in order to view the document in a web browser.
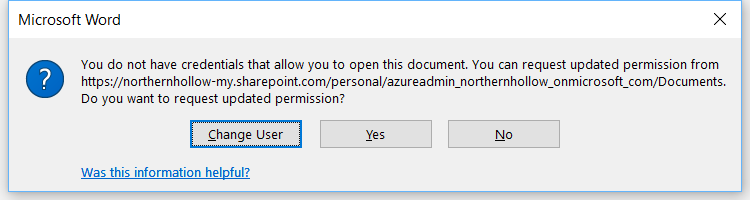
Furthermore, when attempting to share with external users from OneDrive, you might get this message:

I have not found a successful site-level administrative action or permission that will allow this to work like it normally does, when IRM is not enabled, so the message is misleading.
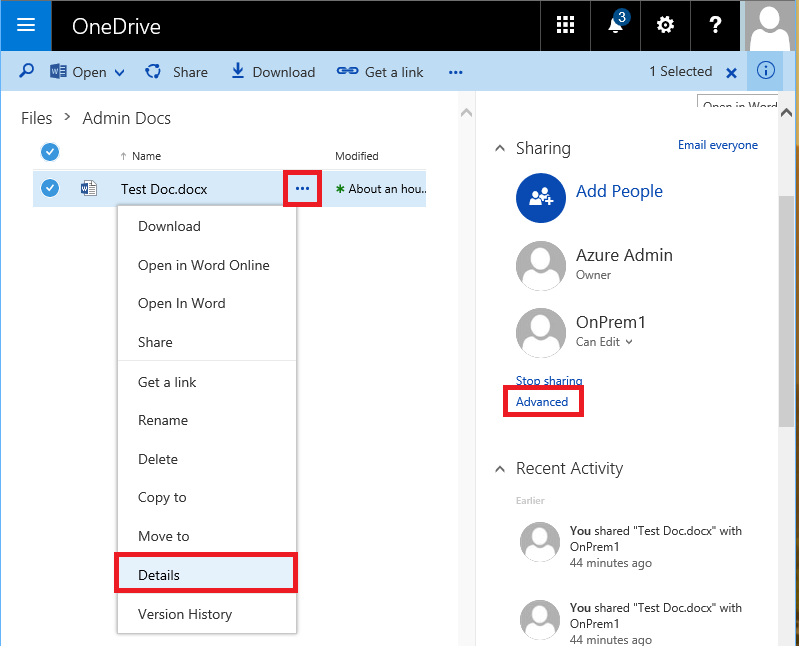
To make external sharing happen successfully, we have to select the document, click the ellipses, and then choose Details. From the right-hand menu, choose Advanced.
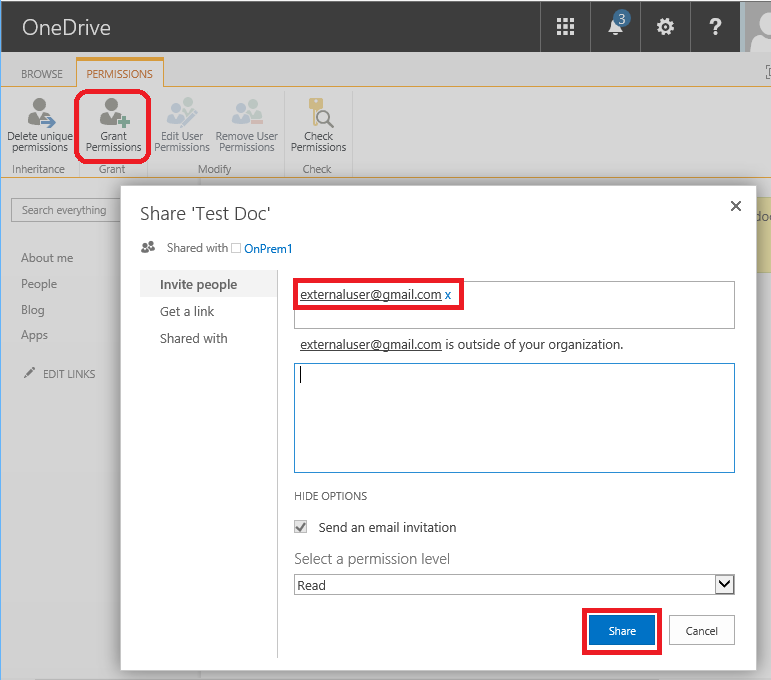
On this screen you will need to click Grant Permissions from the ribbon. Specify your external user’s email address, choose your permission level, and click Share.
Now we see the invitation arrive. Follow the link.
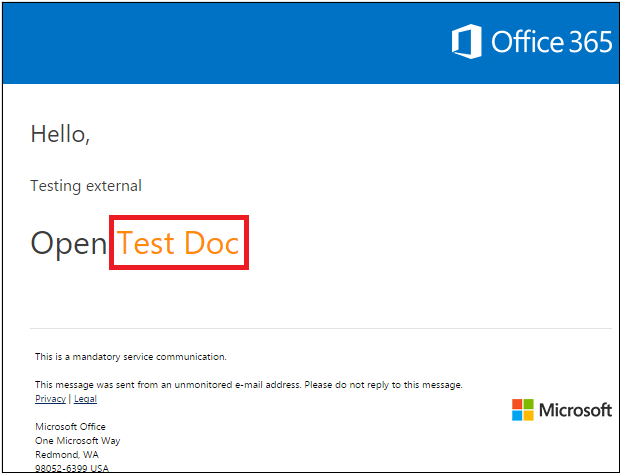
To further complicate matters, again the user must sign in with a Microsoft ID (either a 365 organizational account or something like an Outlook.com or Live account).
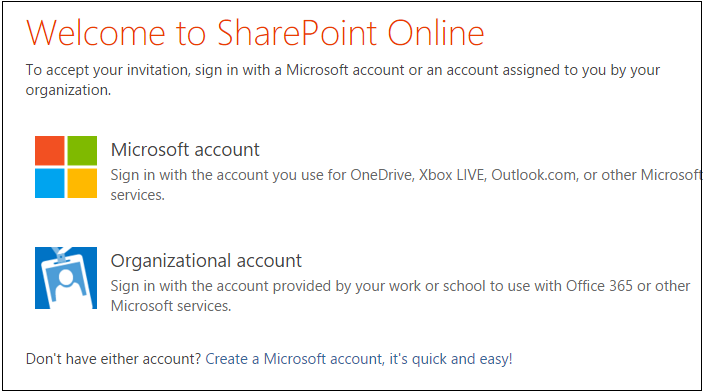
Interestingly, even though we sent this to a Gmail address, and the user authenticated into an Outlook.com account, it will still deliver the content (confusing, I know). Microsoft is earning no points here, and the “clunky” moniker that has long been attributed to SharePoint remains.
Conclusions
My wish for Christmas this year is to have IRM for SharePoint work more like Email encryption for Office 365, which behaves the same–and flawlessly–inside and outside the organization. Thanks in advance, Microsanta (or Santasoft). Until that time, the most likely use case for this technology is probably going to be limited mostly to internal use, and of course, to enable these settings only on certain document libraries marked as confidential or sensitive.
Still, at the end of the day, IRM gives us some pretty powerful options for adding security to documents and allowing users to manage their information, and better prevent data leakage and/or unauthorized access.
Leave a Reply