Office 365 Email encryption vs. Rights Management templates
This is a four-part post on Azure Rights Management for Office 365. The Azure RMS service is a powerful tool that we can use to prevent data leakage and share information securely with users inside & outside of the organization.
Follow along as we explore how to:
- Activate Azure Rights Management for Office 365
- Configure Email encryption for Office 365
- Compare Email encryption & Rights Management templates (this post)
- Enable Rights Management for SharePoint Online & OneDrive for Business
In the previous post, we enabled Azure Rights Management and Email encryption for Office 365; users will now be able to encrypt emails by adding “encrypt” to the subject line. We also created a rule to flag messages with the subject line “confidential” as Confidential View Only.
The former will trigger Email encryption for Office 365. The latter will trigger an Information Rights Management (IRM) template to be applied from Azure AD. Let’s examine both of these options briefly and compare the results. Finally, we can take a quick look at defining custom Rights Management templates.
Test the results: Office 365 Email Encryption
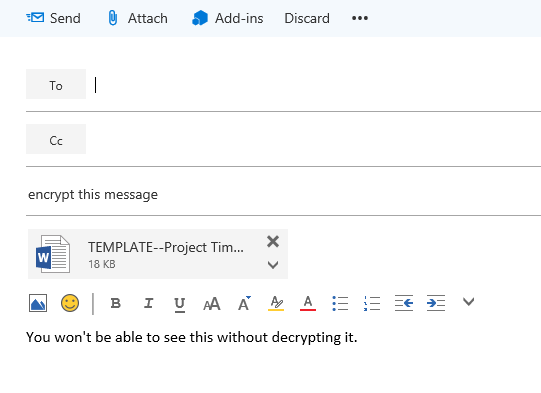
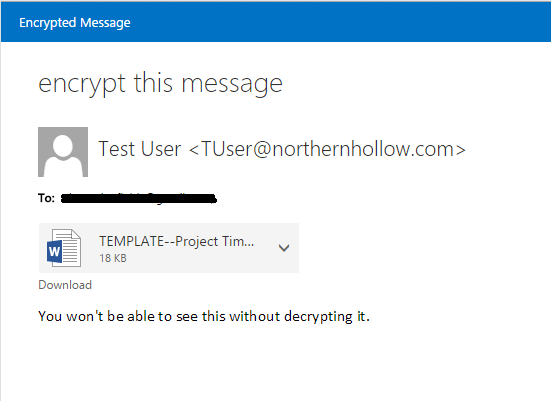
Let’s see how it works! Browse to the Office 365 OWA page and login as a test user. Create a new message, and give it the subject line “encrypt this message.” Add an attachment if you like.
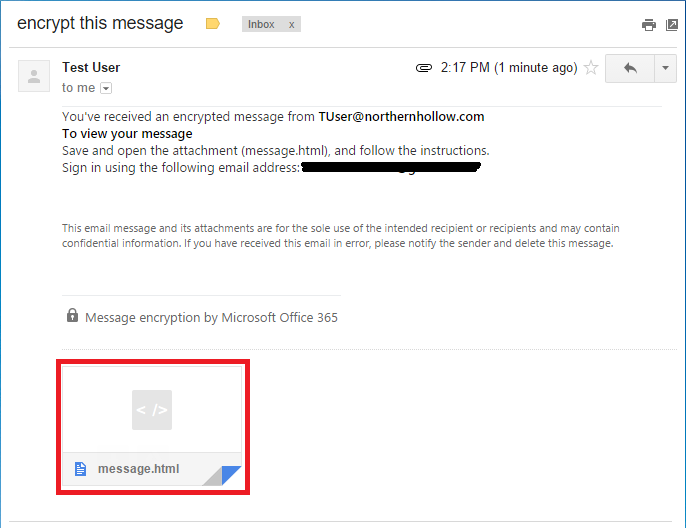
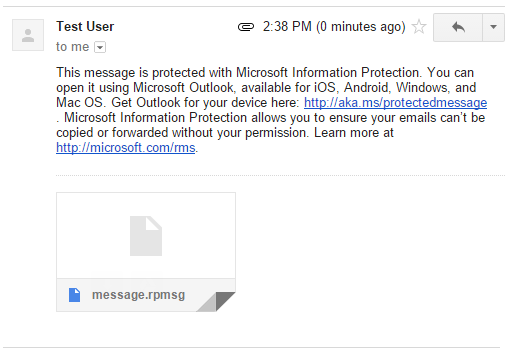
On the receiving end, we are asked to open the html attachment.
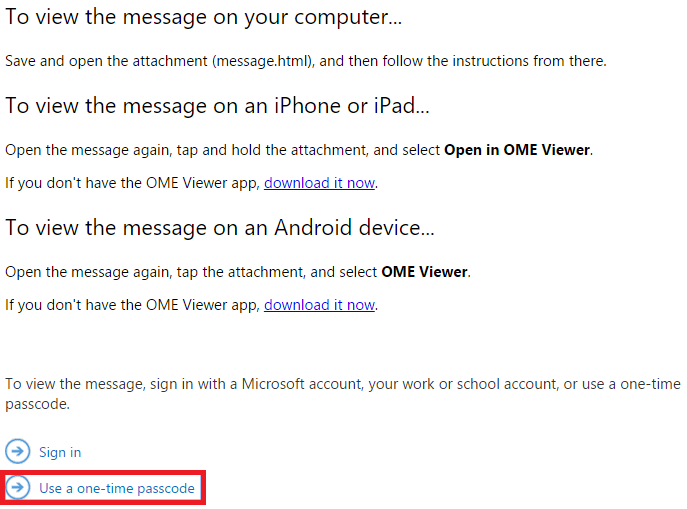
In the next step, the user is given options for proceeding on several different device types. On a PC, I usually just choose the one-time passcode option at the bottom.
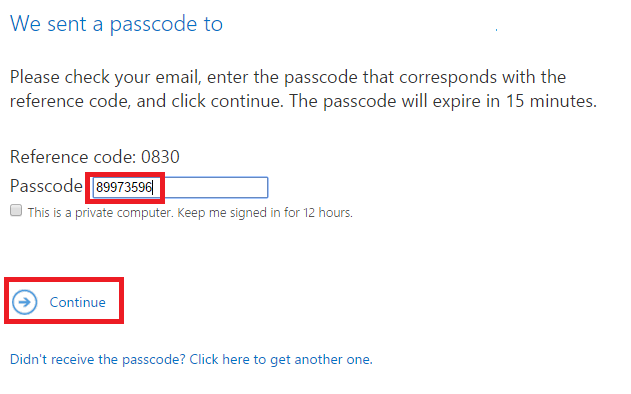
The passcode will be emailed to the same recipient specified in the email TO: field. Input the passcode and click Continue.
Now you are able to view the message in a secure browsing session.
Compare to Azure Information Rights Management (IRM) Rules
To compare this with the Information Rights Management rule, we can compose another message with the subject line “this message is confidential.” I sent this to an external email account, as I did before using encryption. The first thing I notice when I try to view this message is that it will require an Outlook client to open.
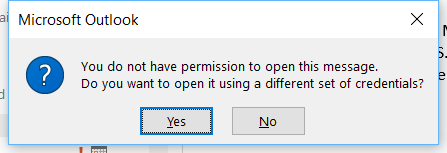
Interestingly, even when opening the message through Outlook, you will notice that we do not have sufficient privileges to open the email.
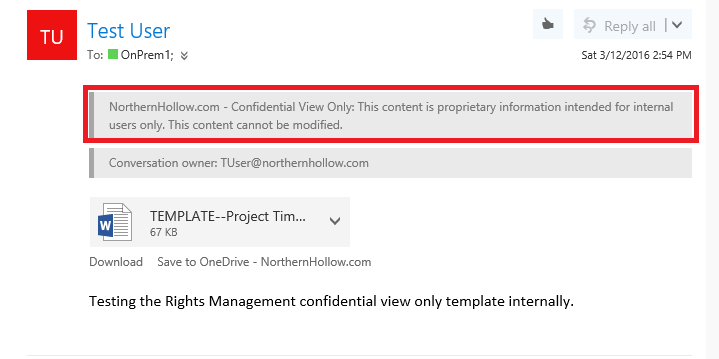
That is because this message was in fact intended only for “internal” users only. The Confidential and Confidential View Only options will prevent non-authorized users from obtaining internal corporate data. “View only” simply means that the information cannot be modified. Let’s see what it looks like when I send it internally to another user, as it is intended:
It is important to notice that by default, Information Rights Management from Azure RMS is a solution designed to help prevent data leakage–to prevent information from leaving the boundaries of the organization–whereas Office 365 encryption allows you to share information securely with users inside or outside of the organization.
The default permission templates are as follows:
- Do not forward: You can send these messages to users inside or outside of the organization. Recipients will be able to reply, but will not be able to forward.
- Confidential: Messages can be read, forwarded and replied to, within the organization only.
- Confidential View-Only: Can be read by the intended (internal) recipient only; cannot be forwarded or replied to.
How-to Create a Custom Information Rights Management Template
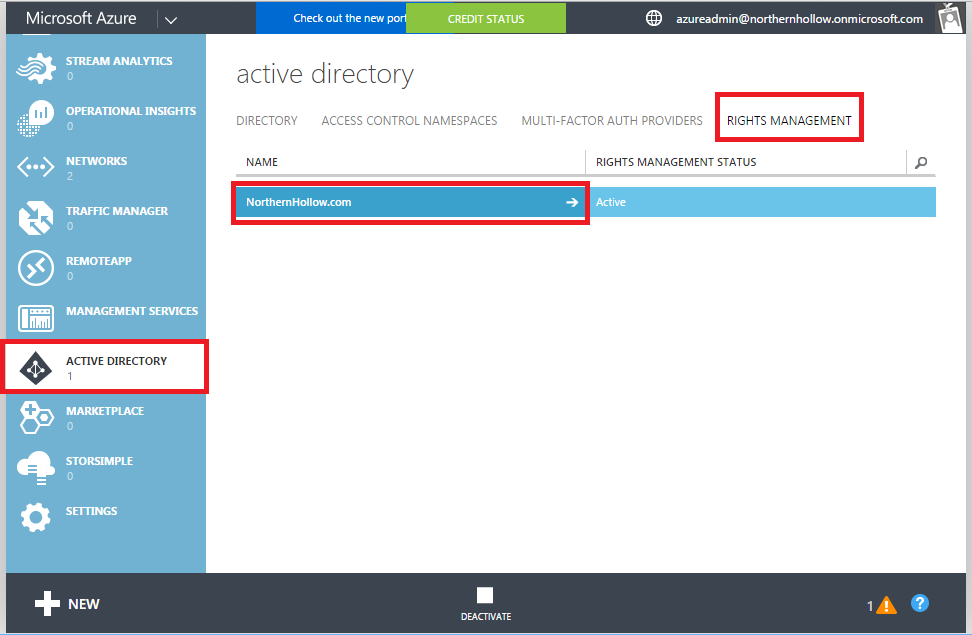
You can also create custom templates in Azure RMS that allow messages to be viewed or modified only by certain subsets of users. From the Classic Azure Management Portal, go to Active Directory, and click on Rights Management.
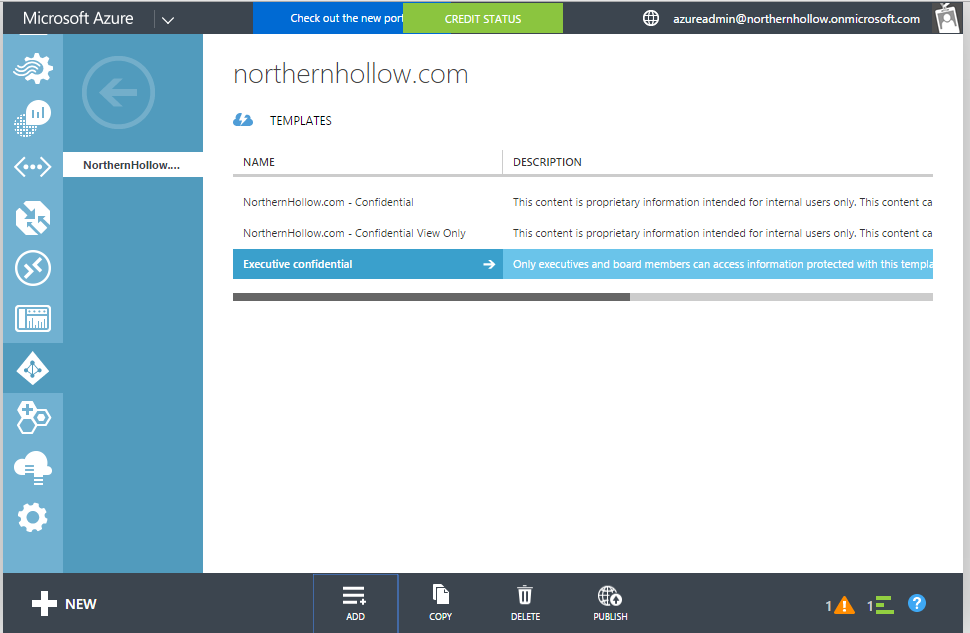
Click to enter your domain. Inside, you can specify new templates by clicking Add at the bottom of the screen. In this example, I added a new template called “Executive confidential” whose purpose it will be to prevent leakage outside of executives and board members.
The process to create the template is pretty straightforward. Choose the new template, and it will walk you through specifying users or groups, and assigning access rules.
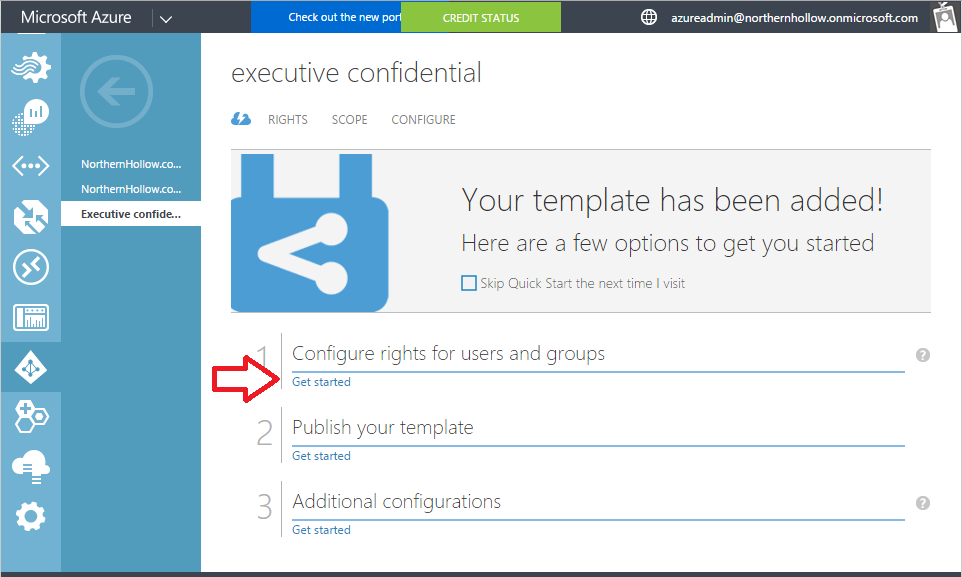
You can use the menu at the top to assign RIGHTS to users (such as Viewer, Reviewer, Co-Author, etc.), or to specify a SCOPE (which users can apply the template), and finally CONFIGURE certain options (including the “Publish” option–which is fairly important if you want it to be available to your users).

We are not done yet! We will also need to update our IRM templates using PowerShell. Connect to your Exchange Online tenancy again. Then, run this command:
Get-RMSTrustedPublishingDomain | fl
From here, you can see the value of the “Name” field. Copy this.
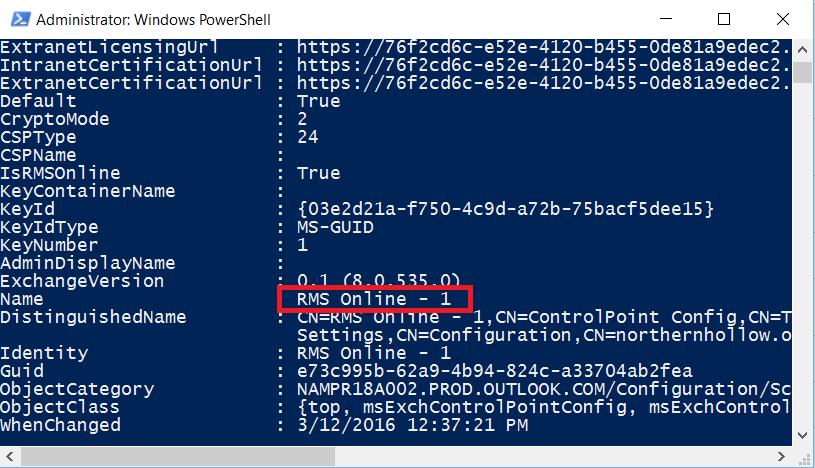
You need to specify this name in the next command, which will update the templates from Azure Active Directory.
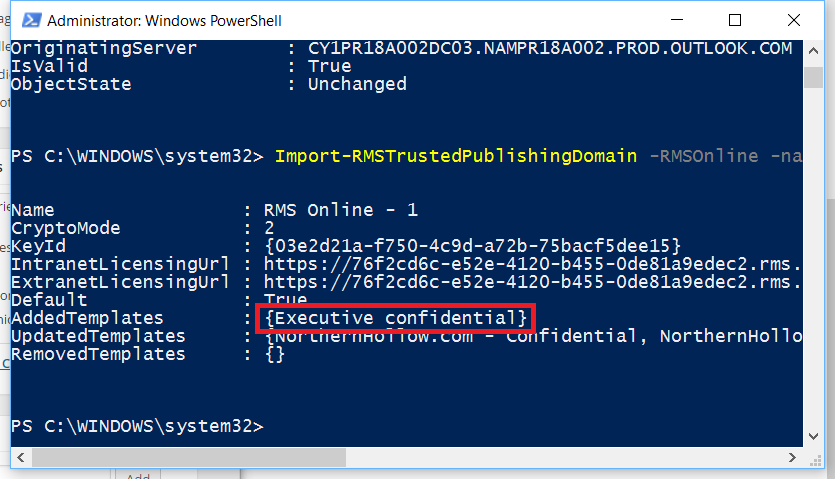
Import-RMSTrustedPublishingDomain -RMSOnline -name “RMS Online – 1” -RefreshTemplates
Notice that “Executive Confidential” was added to the templates.
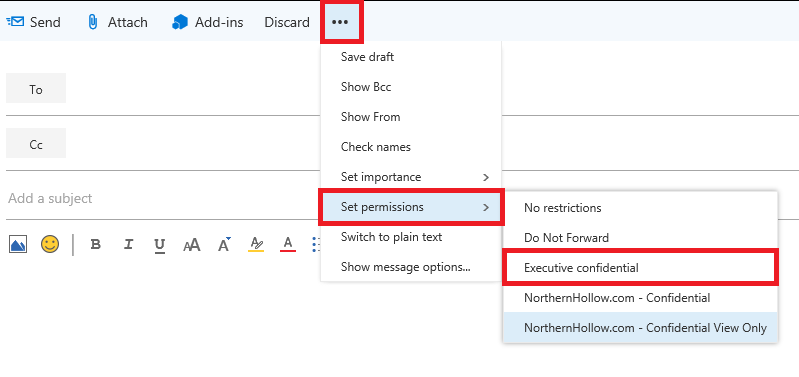
Now, you can create new transport rules using this template as a basis, for example, as we did previously. If also you chose to leave these visible to Outlook clients and OWA, then users who are included in scope will also be able to apply the template themselves, directly.
I hope this has been an informational lesson in Azure Rights Management & Office 365 Email encryption. Next time, we will apply Azure Rights Management concepts to another area of Office 365: SharePoint Online & OneDrive for Business!
Comments (2)
How would I bulk enable the Azure Rights Management feature in all users E3 licensing? I notice most have it switched off.
This article is very old, and out of date. Now when you attach licenses that include Azure Info Protection all the relevant features, including OME are enabled by default. See this article for more detail: https://docs.microsoft.com/en-us/microsoft-365/compliance/set-up-new-message-encryption-capabilities