2016 Essentials Integration: Azure Virtual Network, part 2
In the previous post, we enabled the Windows Server Essentials integration with Azure Virtual Network, and configured a virtual network in the cloud with a Site-to-site VPN right from our Dashboard. While we wait for the connection to become active, we can deploy a virtual machine into that network.
Step 5: Deploy a Virtual Machine into the Virtual Network
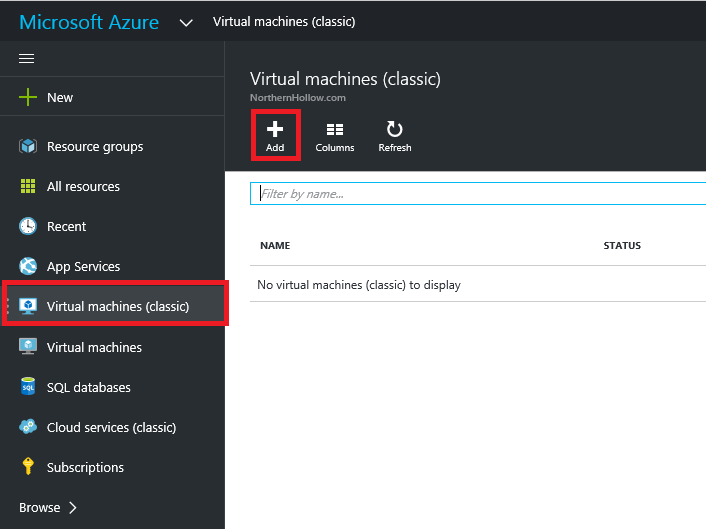
Go back to the Microsoft Azure portal page. Find Virtual machines (classic) on the left menu. Click Add from the left pane.
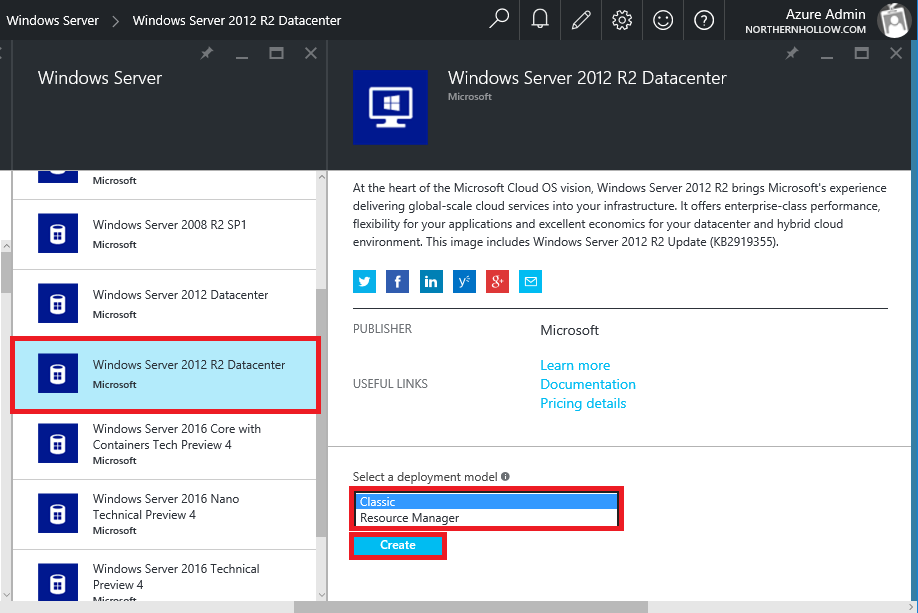
As you step through the rest of this process, a series of additional panes will continue unfolding to the left as you make your configuration selections. Pick a Windows Server from the first menu, and select which type of Windows Server (I chose Windows Server 2012 R2 Datacenter in this example).
This next part is important, so be sure you don’t miss it. Choose Classic instead of Resource Manager as your deployment model. Resource Manager is technically “version 2” of Azure virtual machines. Someday we may be using them, but not today. SMB’s will stick with version 1 (Classic) for now.
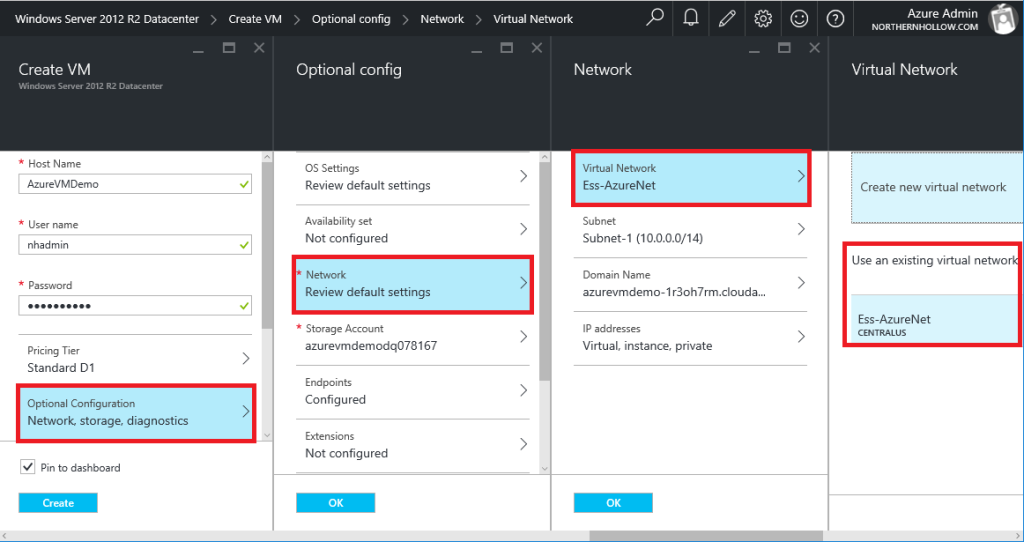
A few things will be defined when we create our virtual machine. You will give it a name and define an administrative account & password. You can also choose how big you want your VM to be (Pricing tier), but you can adjust that later on the fly, so ignore it for now and just choose the Optional Configuration.
Here is where you will tell it to use the existing virtual network (instead of creating a new one). Select Network, then Virtual Network, and finally select your network from Use an existing virtual network.
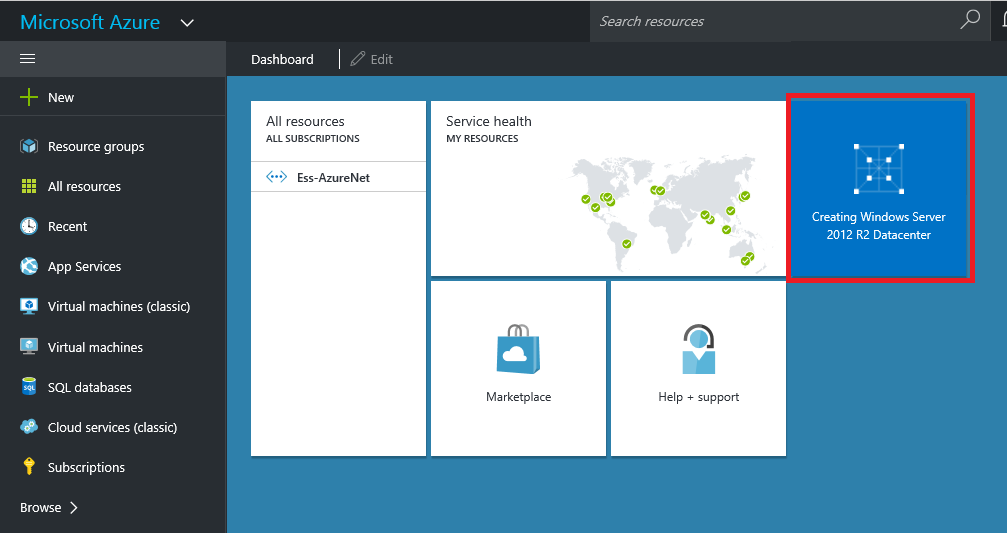
Click OK on each expanded pane where you made a configuration change, then Create to finish the process. I usually also select the option to pin the server to the dashboard. Returning to the dashboard, we will see our virtual machine is being provisioned.
Step 6: Start the Virtual Network Connection
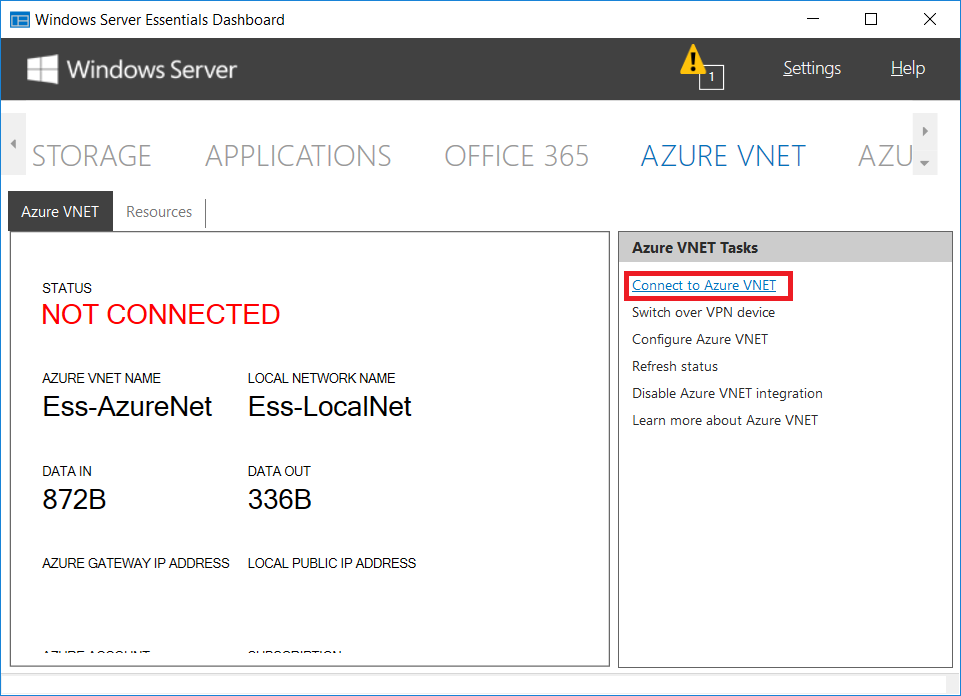
While that process is running, let’s return to our Windows Server Essentials Dashboard, and check in on the status of the Virtual Network configuration–when we left off it still said CONFIGURING. We should find that it has updated to a status of NOT CONNECTED. Click Connect to Azure VNET on the right.
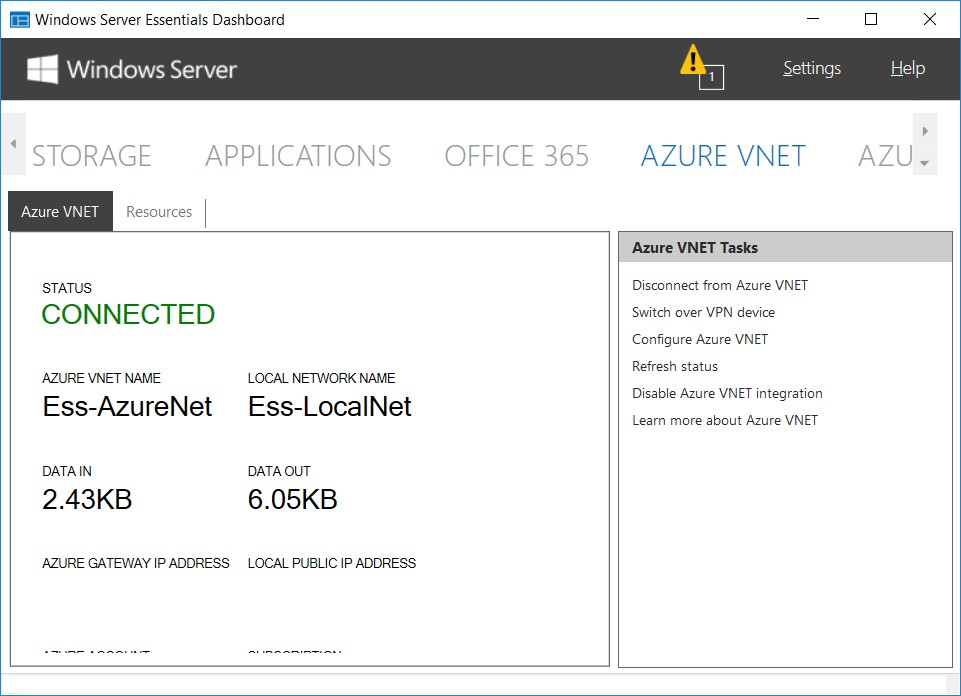
This will take some time, but eventually, you will see the status change to CONNECTED.
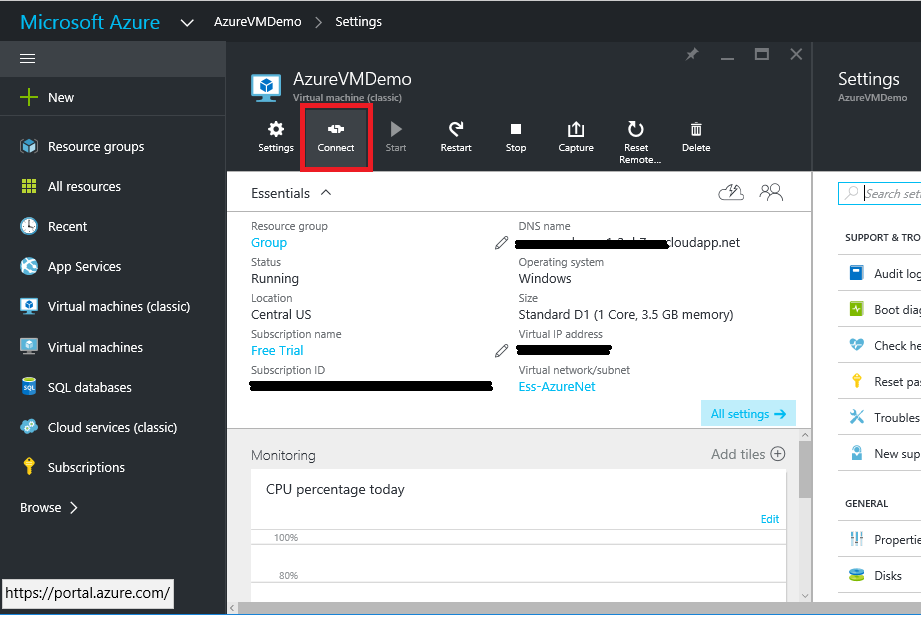
At this point, you should be able to verify the same from the Azure portal. Green is good.

Returning to the Essentials Dashboard, under the Azure VNET plugin, we can select the Resources tab to find our virtual machine. If it doesn’t show up, just refresh the status and wait until it does.
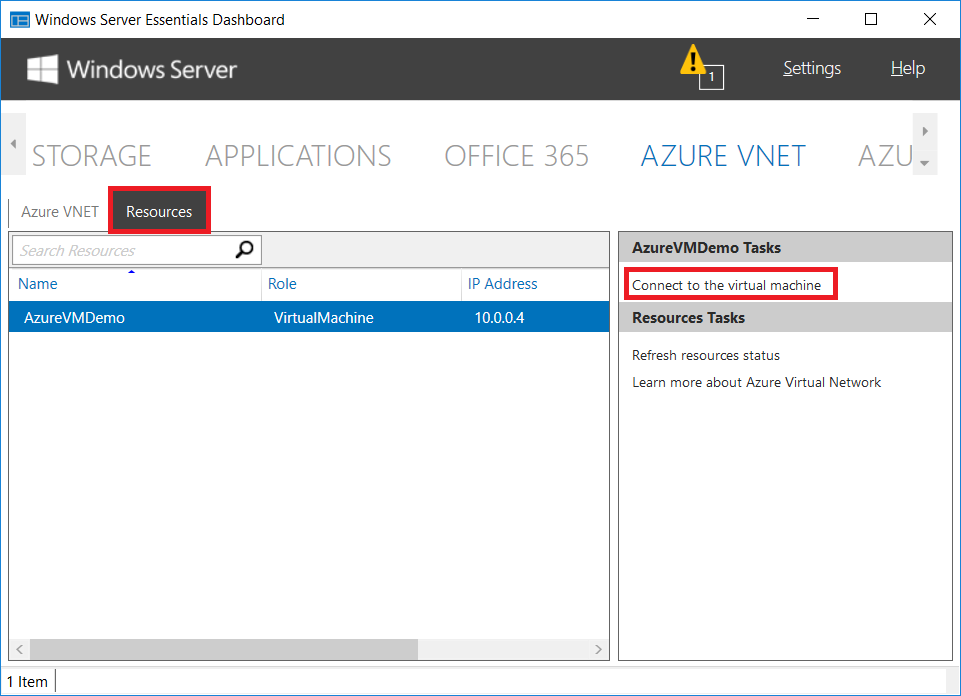
You can Connect to the virtual machine right from here, or by clicking on the virtual machine in the Azure portal, and finding the Connect button.
Either way, you will be able to initiate a Remote Desktop connection to the VM, and sign in with those administrative credentials you defined when creating it. Let’s open a command prompt and try pinging the local Windows Server 2016 Essentials box. Be sure you have ICMP/echo requests enabled in the firewall rules.
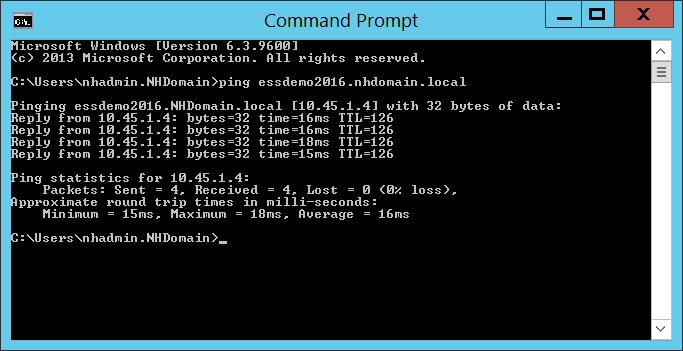
Success!
Step 7: Join the new server to the domain
Now, the first item of business in this virtual machine is to Enable remote management and join it to the on-premises domain. Open Server Manager to achieve both.
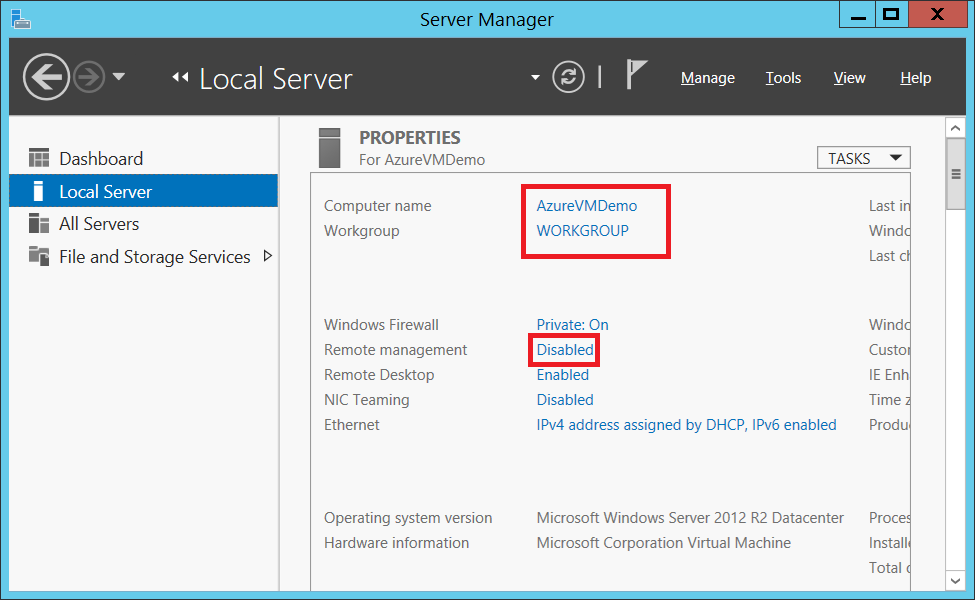
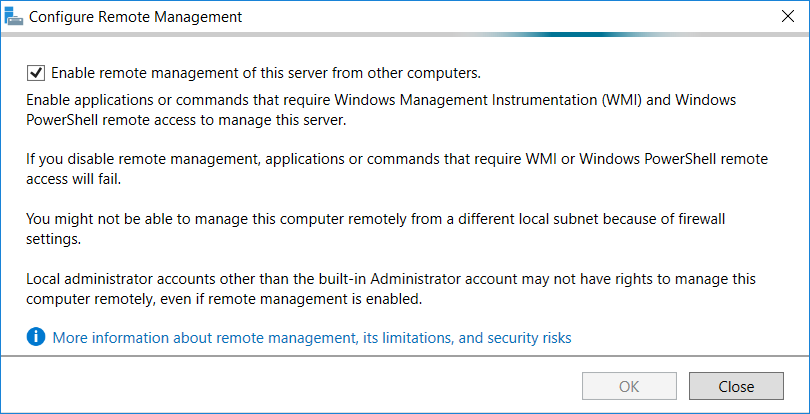
Enabling remote management features (so we can manage it from our on-premises server).
And then join the domain…
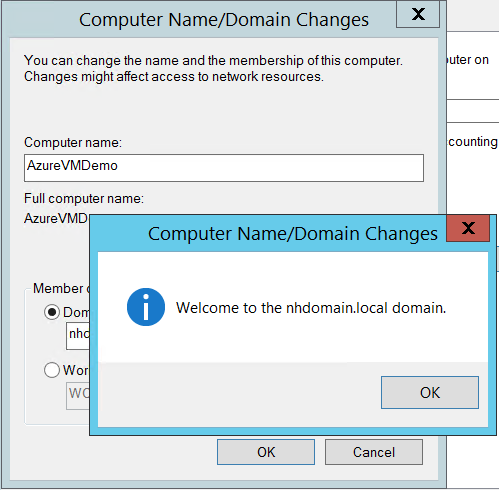
After a quick reboot, we’re back!
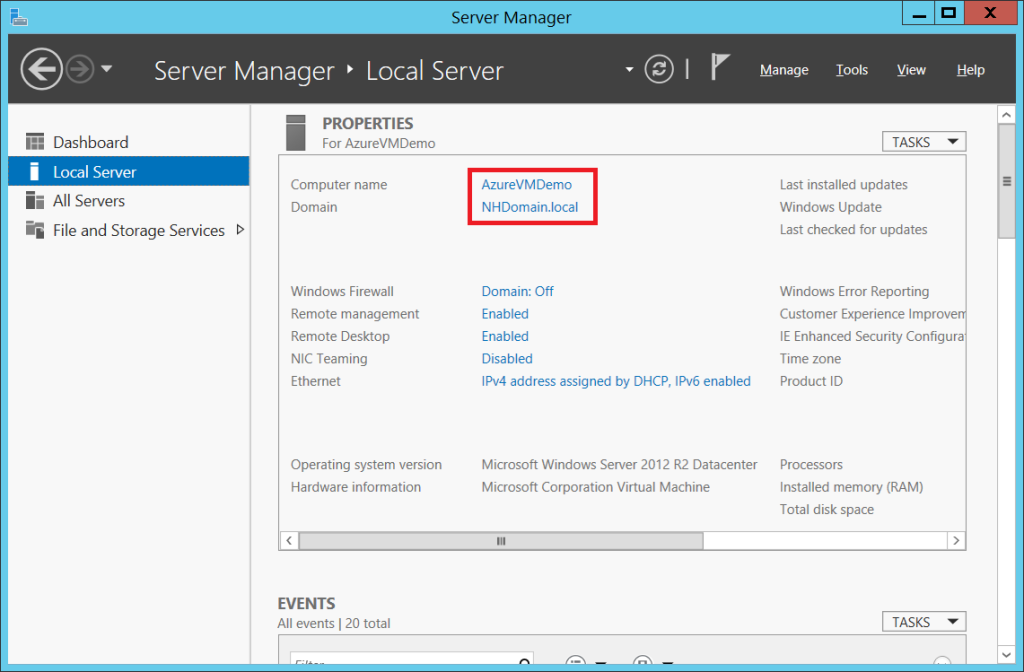
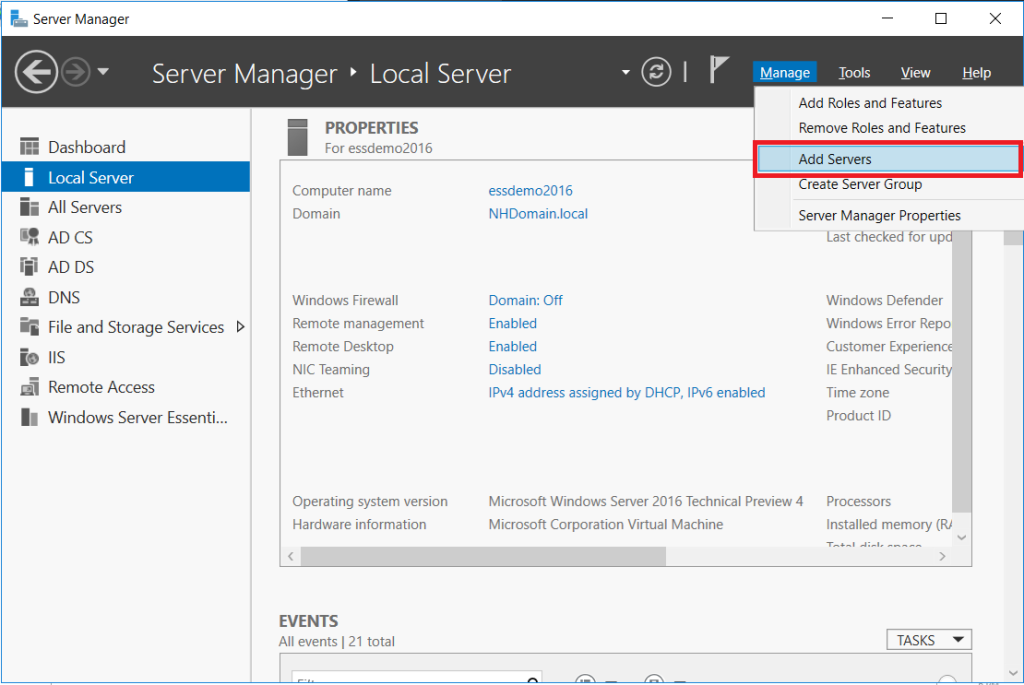
Returning to our on-premises server, we can open Server Manager, and add the new cloud-hosted VM into our management console. Manage > Add Servers.
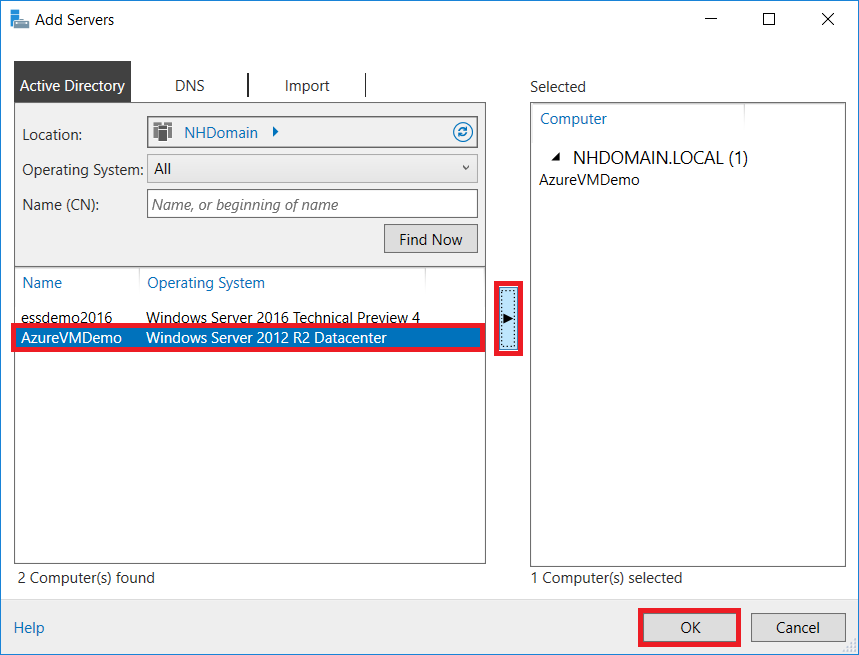
Just slide our new Azure VM over. Click OK.
And there you have it, I can now deploy new roles and features to either server from one place.
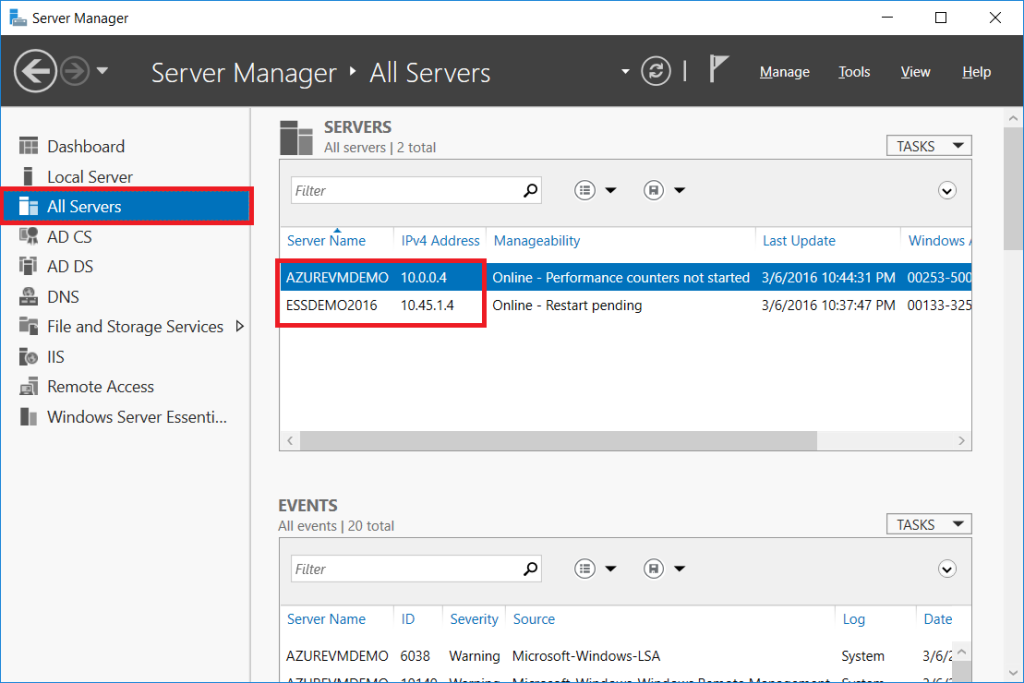
Our new server could become utilized as backup domain controller in the cloud, or also as a place to replicate file shares using DFS, providing for site redundancy and adding a new layer to our DR plan. Or perhaps we will install a line of business application onto this server, and enable Remote Desktop Services for our users to be able to access their applications remotely.
All of this and more is completely within our capabilities, and we can be up and running without having to make any additional hardware purchases, or wait for equipment delivery, set up and installation. That’s right: the future is NOW!
Notes on the Azure solution, pricing, etc.
It is worth mentioning that Microsoft does charge for running a site-to-site VPN into your Azure Virtual Network (starting around $27/month), and of course there are additional charges for the storage and virtual machine run time, but I still think this is a fairly affordable way to run a modern infrastructure.
For example, compare Azure virtual network to the cost of providing geo-redundancy via co-location or hosting your own hardware in a remote datacenter. There is simply no contest. A backup domain controller in the cloud containing DFS replicated file shares, for example, could run between 100-200 dollars per month with the virtual network connection included (depending on pricing tier, usage, etc.). You can add a little bit more to that cost and include a backup vault in the cloud, too.
It starts getting more expensive if you plan on running SQL servers or workloads that require larger VM’s, and at some point, you’ll hit a break-even and investing in some hardware starts making sense again. But many SMB organizations will only require a couple of smaller-sized VM’s, such as a D1 (1 core, 3.5 GB RAM) or D2 (2 core, 7 GB RAM). At the time of this writing, those are priced at $104 and $208 per month, respectively. For more accurate pricing and details, visit the Azure Pricing page.
One more note: there are some additional caveats that could impact your decision-making. Namely, you should be aware of the SLA for Azure virtual machines–you will be required to run two of any given workload in an “availability set” in order to qualify for the SLA. Support is also sold separately.
Leave a Reply