How to initiate a test failover to Azure Site Recovery
If you’ve been following along with this series, we have already:
- Extended our On-Premises Network to Azure Virtual Network
- Replicated Hyper-V Virtual Machines to an Azure Site Recovery Vault
In this post we are going to perform a test fail-over of on-premises virtual machines to Azure. Since we have all the component parts necessary, including an Azure Site Recovery Vault, a storage account and a test Virtual Network, we can get started by creating a Recovery Plan in the Classic Azure portal.
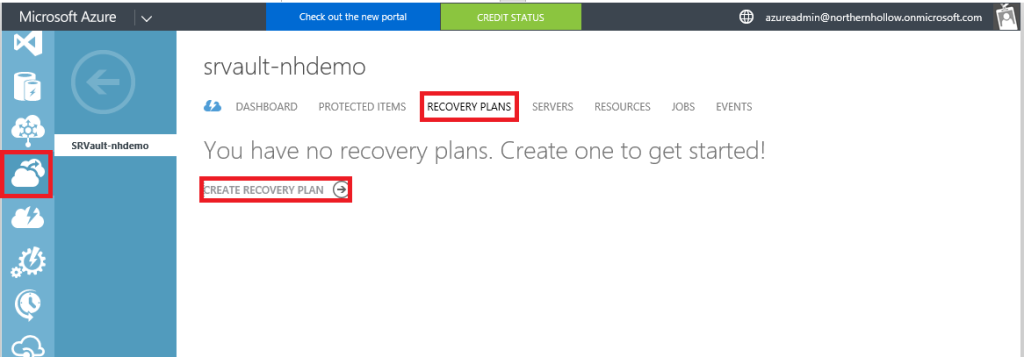
Step 1: Create the Recovery Plan
Find Recovery Services on the left menu and navigate to your Recovery Vault. Click Recovery Plans, then Create Recovery Plan.
On the first screen of this wizard, you just need to specify a name and source (your local Hyper-V server)–the destination is Azure. Then you select which VM’s should be included in the plan.
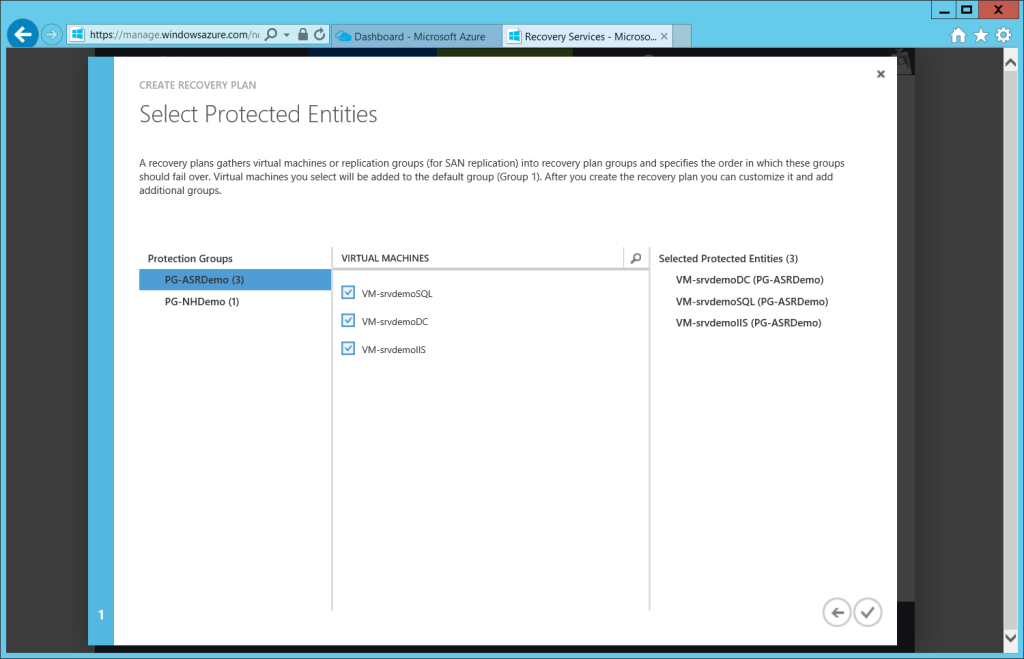
Note: if you plan to perform an actual planned fail-over of local VM’s, then you may not need to include a Domain Controller–especially if you have one already provisioned in your Azure DR site. However, in this example, we are merely testing failing over to a separate test network, with no connection back to your on-premises environment. Therefore, a Domain Controller is required.
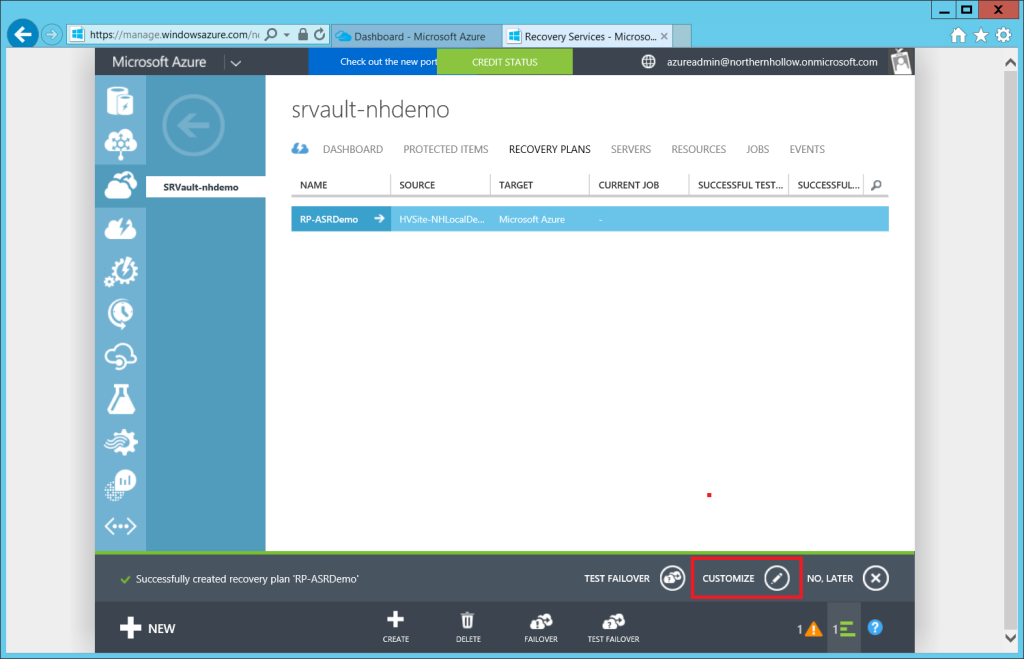
Step 2: Customize the plan
Before we test a fail-over, you may want to customize the plan, for example, to specify an order in which to recover the virtual machines.
Use the +GROUP button at the bottom to add new groups, and then select the VM’s from the list to adjust their position on the list, using Move Virtual Machine.
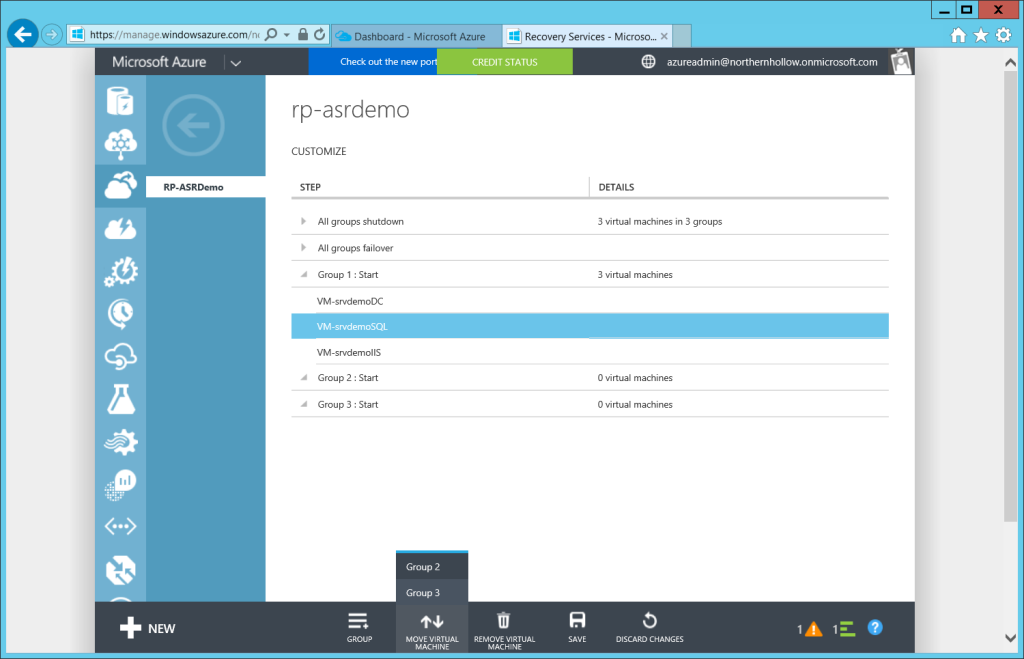
In this example, we will want our Domain Controller to come online first, to enable authentication. Second we will want to ensure our back-end database is online before making the front-end IIS server available for clients.
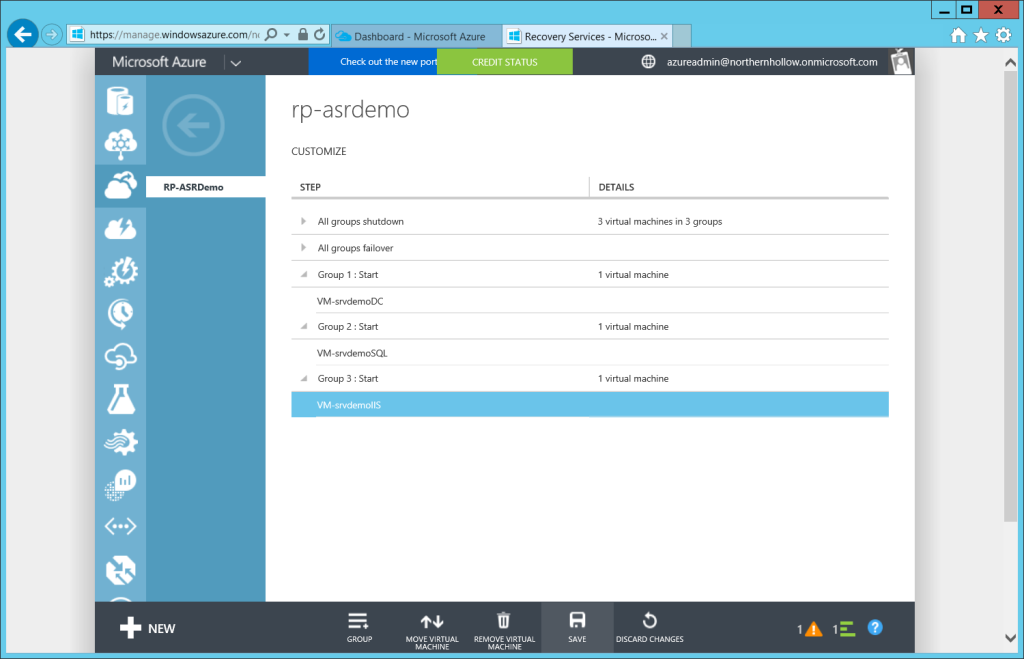
Click Save at the bottom of the screen after you have finished customizing the plan. Now we are ready to test the fail-over.
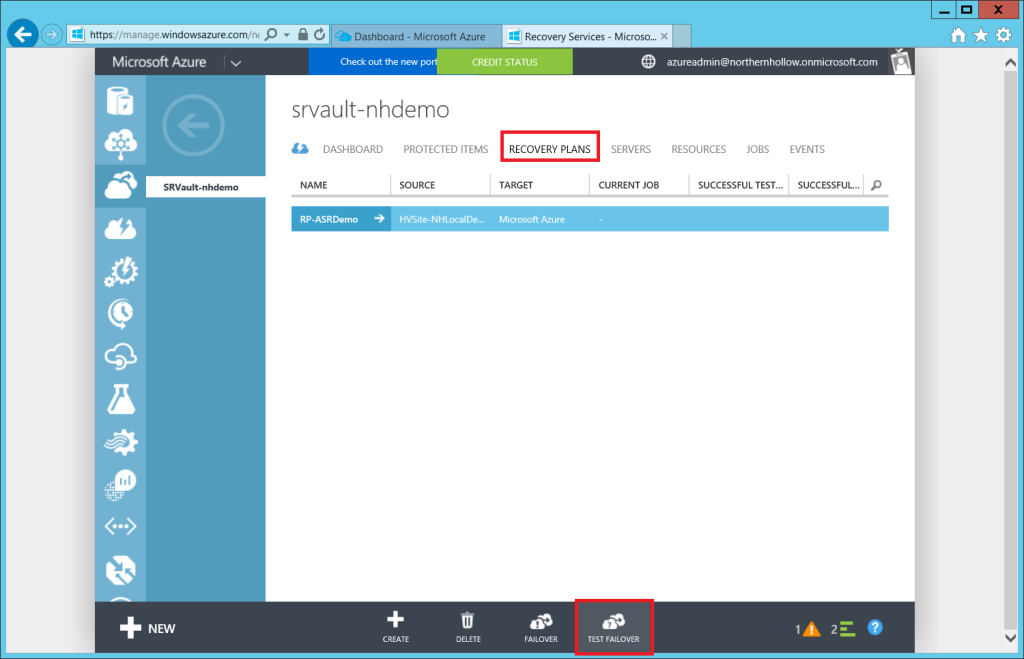
Step 3: Test Your Failover
Return to the recovery vault, click on Recovery Plans at the top, then select your plan and choose TEST FAILOVER from the bottom menu.
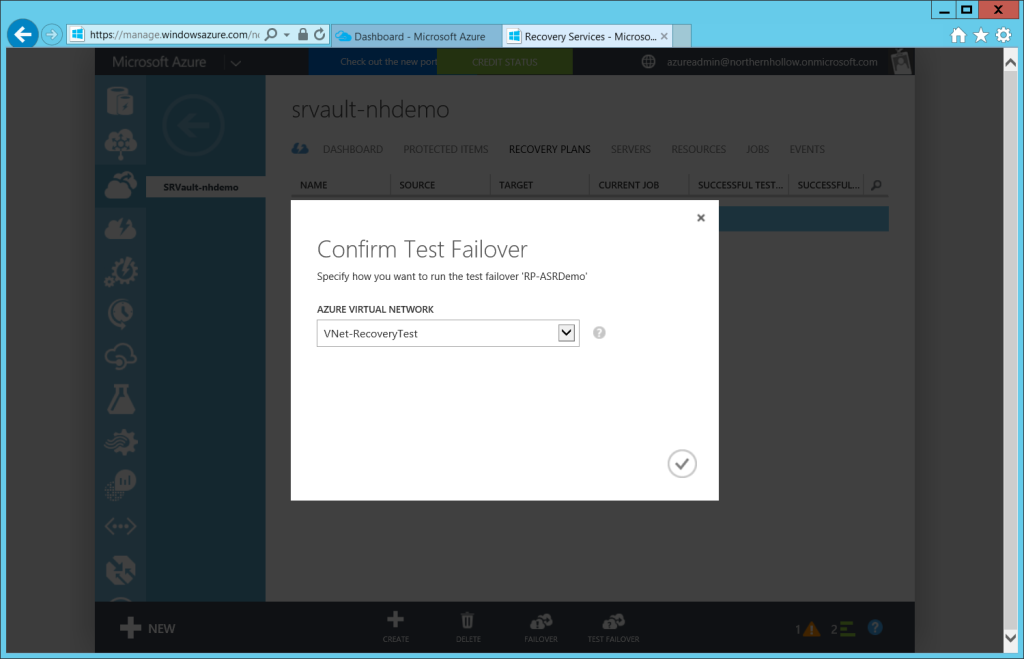
All you really have to do here is choose your Azure Virtual Network.
If you have an active DR site with a running Domain Controller, and you plan to failover application/data workloads only, then you would select your DR network. Note: this means that your on-premises VM’s will go offline, and DNS updates/replication will need to take place and TTL’s will need to expire before resources become available to clients again.
However, in this example, we are failing over to a test network, so that is the one I select.
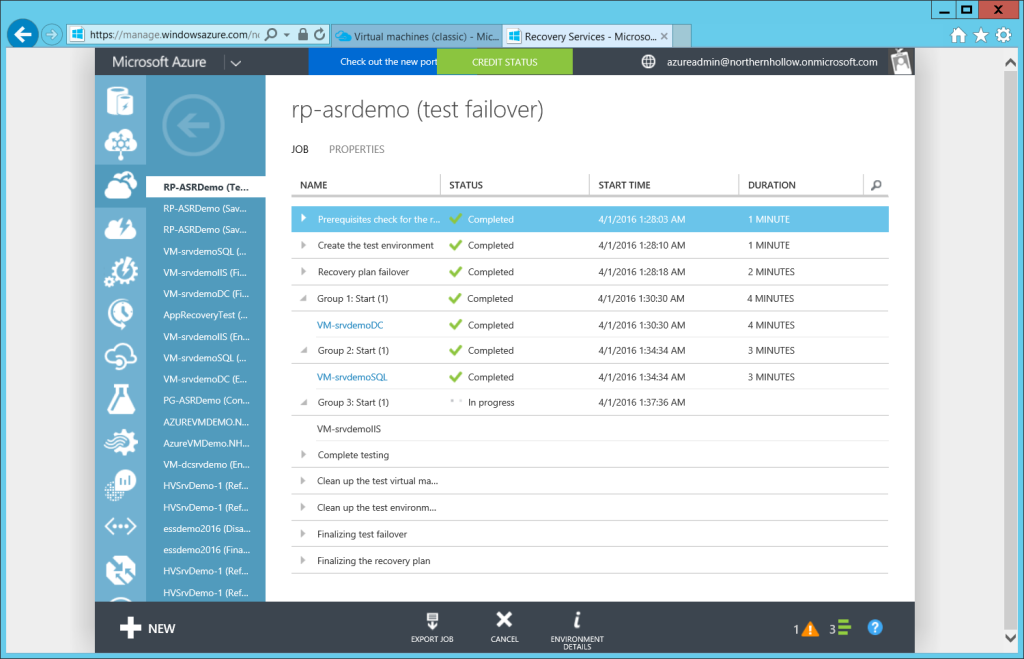
You can follow along with the progress of the failover operations by choosing JOBS from the top menu in your Recovery Vault.
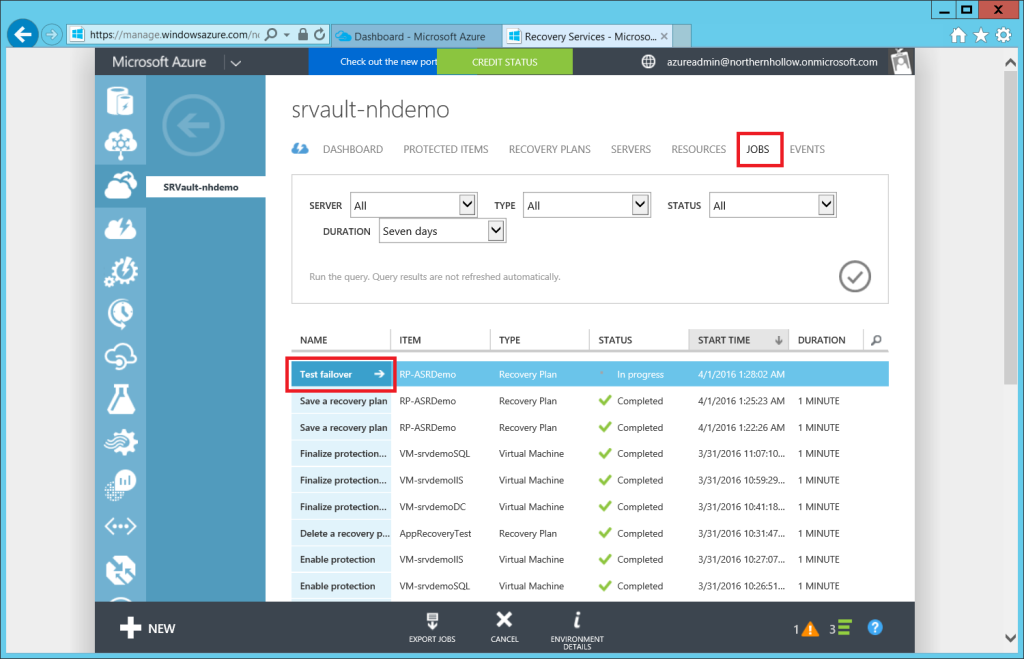
Watch here for all of your VMs to finish recovering.
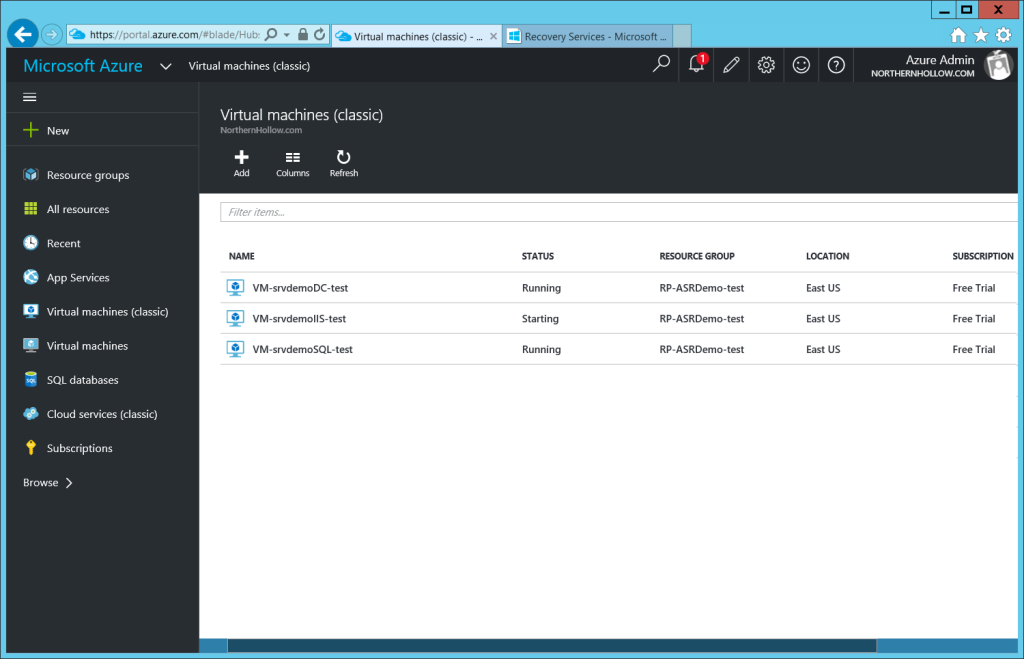
Under Virtual Machines, or Virtual Machines (Classic) from the new Azure portal, you will be able to see them come online.
For testing, you can either deploy another VM into this network and test client access, or enable a point-to-site VPN connection on the Virtual Network, and test from another computer.
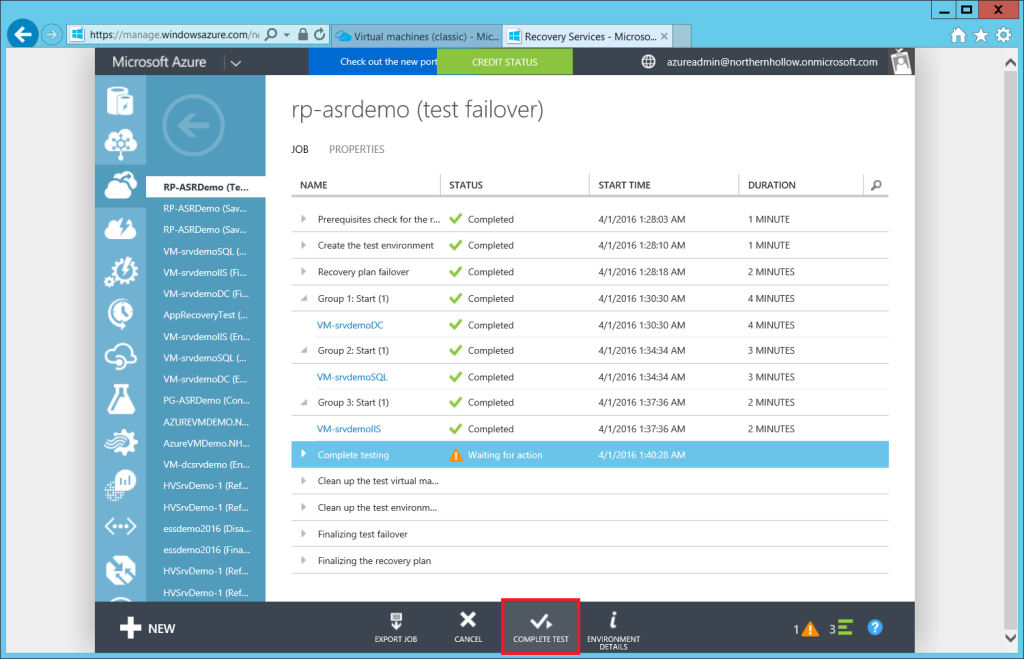
Step 4: Complete the Test Plan
Returning to the Job properties for the Recovery Plan, you can click on COMPLETE TEST.
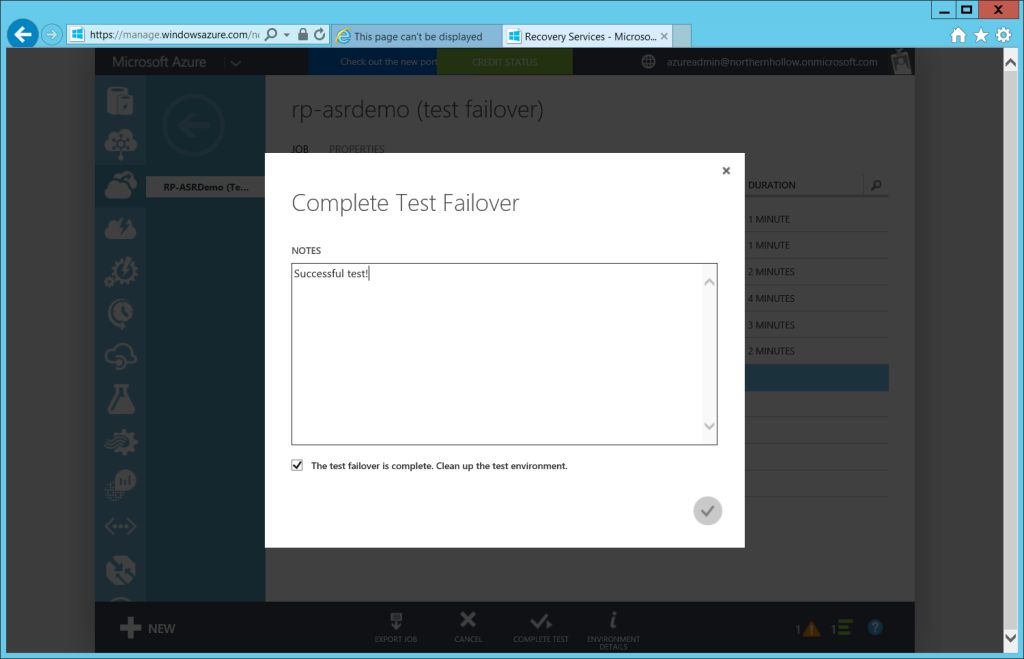
You can enter some notes and be sure to choose the option to clean up–this will automatically delete the temporary Virtual Machines in Azure for you.
Real Life Failover Events
- In advance, you need to have your Recovery Plan all set up and ready to go, but unlike the test plan, including AD/DNS servers is optional here, since your Recovery network already has a Domain Controller.
- Make sure the boot order for your VM’s still has database and back-end servers coming online first, and user-facing front-end services last.
- Make sure the target Virtual Network for your VM’s is set as the Recovery network, not the Test network.
- Depending on your environment, you might need to have a plan in place to provide point-to-site VPN connections to client computers as well. This can also be set up in advance on your Virtual Network settings.
- Once the Recovery Plan is done booting all VM’s, be sure to re-register & re-point DNS records as necessary (all VM’s will have new IP’s on the Recovery network), then wait for replication / TTL expiration and flush any latent / old cached DNS information.
- Make sure your Virtual Machine Endpoints are defined appropriately; you may need to open traffic to ports like 443, 3389, etc. depending on your needs.
After recovery efforts on-prem have been successful, you will be able to fail back your services. Sometimes organizations do planned failovers to the real Recovery network rather than just utilizing a test network, so they can be sure the process is solid end-to-end. It is up to you, and again your strategy depends upon your own business requirements.
Conclusion
This might be the easiest way to set up and test full Disaster Recovery–EVER. Besides that, it is actually an incredibly affordable solution. Even if you ran your DR testing environment for an entire week out of each year–this will not be an expensive option for most SMB’s compared to running DR hardware 24×7 in a co-location. Since a lot of SMB org’s do not have System Center VMM, as the person responsible for this solution, you will just need to be sure that VM replication health is being monitored, as previously discussed in this series.
Comments (3)
hi
I would like to know if for ARM retaining on-premise IPs for VMs is supported? or I have to always change the IP?
thanks
In the scenario that I am describing here, to maintain IP’s would not be possible, since you would presumably have the remote Azure VNet connected back via VPN to your on-premises infrastructure. However, if that were not a requirement of the solution, you could setup your virtual network IP space to match the IP scheme you have on-premises. Note in that case, it would not be possible to add a site-to-site VPN link between them. A good example of a situation where you might not need the two sites connected, is a simple database application with a web front end that just needs to be published somewhere, and you would update external DNS records to point away from the on-premises IP’s, and toward the public address space in the cloud. Or, even a terminal services scenario, where users just have to hit a remote desktop in the cloud (instead of on-prem).
thanks a lot for the detail
appreciate it